Last updated November 18, 2026







Free written scope consultation - allowances, timeline, and change-order rules on paper before a single trade is scheduled
Bathroom Remodeling Troubleshooting: Common Problems and How to Fix Them
A bathroom that passes final inspection can still have a failed shower membrane. That’s the part most homeowners never hear, and it’s the reason we get called back to bathrooms in Henderson two, three, and four years after somebody else finished them. Inspectors check for code compliance. Application quality is a different animal, and the gap between the two is where water damage lives. In this guide we’ll walk through how to diagnose grout cracking and tile delamination back to the substrate, tell a normal post-remodel smell from a wax ring failure, trace a shower leak to where it actually started, read a flickering vanity light, and put together a problem report that gets a contractor moving. By the end you’ll know which problems are cosmetic, which are structural, and which ones mean calling somebody today.
Quick Answer
Most bathroom remodel problems trace back to waterproofing and ventilation decisions made during demo and rough-in, not to the tile or fixtures you see. Grout cracking usually means substrate movement or missing expansion joints, persistent odors usually mean a wax ring, dry P-trap, or undersized exhaust, and a leak showing up on the ceiling below rarely starts directly above it. Diagnose the cause before you touch the surface, and document everything in photos with dates.
Styles & brands we work with
- Kitchen remodeling
- Bathroom remodeling
- Home additions & ADU
- Roofing
- Windows & doors
- Driveway & pavers
- Fence
Table of Contents
- Why Is My Grout Cracking and Tile Coming Loose?
- Why Does My New Bathroom Still Smell?
- Where Is My Shower Leak Actually Coming From?
- Why Is My Vanity Light Flickering or My GFCI Tripping?
- Is My Exhaust Fan Actually Doing Anything?
- How Do I Know If the Waterproofing Was Done Right?
- How Do I Present a Problem to My Contractor?
- What’s Different About Bathrooms in Henderson?
Why Is My Grout Cracking and Tile Coming Loose?
Grout cracking is a symptom. The cause is almost always underneath it, and if you regrout without finding the cause, the new grout cracks along the same line within a season or two. In our experience, cracked grout in a bathroom falls into three buckets: substrate movement, missing expansion joints, and improper thinset coverage. Each one has a different signature if you know what to look for.
Substrate movement shows up as a crack that runs in a long, continuous line across multiple tiles, often following the same path on the wall or floor. It usually means the subfloor flexes, the cement board wasn’t fastened to spec, or a joist was notched too deep during plumbing rough-in. If you press on the floor near the crack and feel any give, stop there. That’s a structural issue, not a cosmetic one.
Missing expansion joints show up as cracks at the perimeter of the floor, along the transition to the tub or shower curb, or where tile meets a different material. Tile expands and contracts with temperature changes, and without a soft joint at those transitions, the grout takes the movement instead. This is common in Henderson bathrooms where a west-facing wall gets strong afternoon sun through a window.
Improper thinset coverage shows up as hollow-sounding tiles. Tap across the floor with the handle of a screwdriver. A sharp, hollow click means the tile isn’t fully bonded. The Tile Council of North America standard for large-format tile in wet areas is 95% coverage, and that number is not a suggestion. When coverage is below that, movement concentrates at the edges and the tile eventually delaminates.
To diagnose which one you’re dealing with:
- Photograph the crack pattern with a tape measure in frame so you can see whether it’s growing over time.
- Tap every tile in the affected area and mark the hollow ones with painter’s tape.
- Press on the floor near the crack to check for flex.
- Note whether the crack follows a line (movement) or a single tile edge (bonding).
- Check the perimeter and tub transition for hard grout where a flexible sealant should be.
Why Does My New Bathroom Still Smell?
Every remodel has a smell for the first week or two. Adhesive, sealant, paint, and new fixtures all off-gas, and that fades. An odor that persists past two weeks, or one that shows up only when the fan runs or only in humid weather, is a different problem entirely. In our Henderson projects, persistent bathroom odors almost always trace to one of three causes: a failed wax ring, a dry P-trap, or inadequate exhaust ventilation.
A failed wax ring smells like sewer gas near the base of the toilet. It doesn’t always leak visibly. A wax ring that was installed off-center, or one that sat through a hot week before the toilet was set, can fail without showing water. If the smell is strongest right at the floor line, that’s the first thing to check.
A dry P-trap happens in bathrooms that don’t get used much. A guest bath or a basement bath that sits for weeks pulls the water out of the trap through evaporation, and sewer gas comes right up the drain. The fix is simple: run water in every fixture in that bathroom for thirty seconds. If the smell clears and stays clear with regular use, you found it.
Inadequate exhaust ventilation leaves the bathroom humid long after a shower. That’s the smell of a bathroom that never fully dries. It’s the most common of the three, and it’s the one that quietly leads to bigger problems down the road.
If the fan is running and the mirror still fogs for ten minutes after a shower, the fan isn’t moving enough air for the room size. A fan rated to move air at the right cubic feet per minute for your square footage, ducted to the outside, resolves most of these.
Where Is My Shower Leak Actually Coming From?
Water is deceptive. It runs along the path of least resistance, and the spot where it shows up on the ceiling below is almost never where it started. We’ve walked into Henderson homes where a homeowner had already paid a handyman to cut into the ceiling in one spot, only to find the actual failure a full wall away. Fixing the wrong location costs double, so trace it before you cut.
The most common failure points, in order:
- The shower pan liner at the drain. The weep holes in the drain assembly can be blocked by thinset, or the liner can be clamped off-center. Water sits in the pan and finds its way out through the subfloor.
- The liner at the curb. If the liner wasn’t folded and blocked correctly at the curb, or if tiles were screwed through the liner, water gets in and travels sideways.
- Missing or incomplete waterproofing membrane on the walls. Cement board alone does not stop water. Liquid-applied or sheet membranes do, and if the application was thin or skipped a seam, water gets behind the tile.
- Grout and caulk failures at the corners. These are usually the visible symptom, not the cause. Recaulking a corner without fixing the membrane behind it just moves the problem.
To trace a leak:
- Do a controlled test. Run only the shower head for ten minutes with the drain plugged, and see if water appears below. Then run only the drain, filling and releasing the pan, and see if water appears.
- If water appears only when the shower runs, the issue is at the wall or curb.
- If water appears only when the drain releases, the issue is the pan or drain seal.
- If water appears in both scenarios, treat it as a pan failure and stop using the shower.
- Photograph the underside of the leak and note the exact spot with a tape measure and reference to the room above.
A shower that’s leaking into the structure underneath is not a “watch it for a while” situation. Stop using it, and get somebody qualified to look at it before mold sets in.
Why Is My Vanity Light Flickering or My GFCI Tripping?
Bathroom electrical problems are safety problems, and they shouldn’t be handled by anyone who isn’t trained and licensed to be in a panel. That said, you can learn a lot about what’s happening by observing the symptom. A flickering vanity light tells you something specific about the circuit. A GFCI that trips on its own is telling you something different. And a GFCI that won’t reset after a trip is telling you a third thing.
A flickering vanity light usually means a loose connection, and it’s most often at a wire nut in the wall box, at the fixture itself, or at a shared neutral in a multi-gang box. If the flicker happens when the exhaust fan kicks on or when a hairdryer runs, that points to a circuit that’s shared with too much load or a connection that’s heating up. Either way, stop using the circuit until an electrician checks it.
A GFCI that trips repeatedly is doing its job. It’s sensing current going somewhere it shouldn’t. That can be moisture in a fixture, a nicked wire in a wet wall, or a failing GFCI device itself. GFCIs do wear out, and a device that trips during humid weather but not dry weather is suspect.
A GFCI that won’t reset usually means the device is getting no power at all, or the device has failed. Check the upstream GFCI on the same circuit first, because many bathroom receptacles are wired in a chain from a single GFCI.
Bathroom receptacles need GFCI protection, and in a Henderson bathroom the exhaust fan needs to be on its own switch leg the way it was originally wired. If a remodel moved the fan onto the same switch as the vanity light or dropped the fan off the circuit, that’s a code issue and a moisture issue at the same time.
Is My Exhaust Fan Actually Doing Anything?
A fan that makes noise isn’t the same as a fan that moves air. We’ve opened bathroom ceilings in Henderson and found fans ducted into the attic and dumping into insulation, fans with crushed flex duct behind the drywall, and fans rated for a half-bath trying to clear a master bath with a soaker tub. All of them sound like they’re working.
Here’s the test. Tape a single square of toilet paper to the grille and turn the fan on. If the paper holds flat against the grille for thirty seconds, the fan is pulling air. If it drops within a few seconds, or the corner flaps and won’t seal, the fan isn’t moving enough. This test doesn’t measure airflow rate, but it tells you in ten seconds whether the fan is working at all.
A properly sized fan runs based on the room’s volume, and the duct needs to run to the outside, not the attic. In our Henderson climate, that matters more than people expect. Attic temperatures in July push heat back down a short duct into the bathroom. A fan that dumps into the attic adds moisture to an enclosed space that gets hot for five months a year. That’s how you end up with mold on attic sheathing you never see from the bathroom.
Signs the fan needs attention:
- Mirror fogs for more than ten minutes after a shower.
- Paint peels or bubbles above the shower or near the fan grille.
- Mildew forms in the grout lines within a year of a new remodel.
- The fan rattles, hums, or pulses when it starts.
- You can see daylight along the grille or gaps around the housing.
A timer switch that runs the fan for twenty minutes after the last shower is a cheap fix that adds years to the bathroom’s life. Fans on a simple on/off switch get turned off too early.
How Do I Know If the Waterproofing Was Done Right?
You can’t see the waterproofing after a bathroom is finished, so you have to judge by indirect evidence. In our experience the best evidence is documentation from the contractor: photos of the shower pan before tile, photos of the wall membrane before tile, and a record of the flood test. A flood test means blocking the drain and filling the pan with water for twenty-four hours to confirm the liner holds. It’s standard practice, and the photos of the test should be in the project file.
If you don’t have those photos, look for these signs in the finished bathroom:
- Grout lines that stay consistently colored, without dark patches that show up after a shower and dry out later.
- Caulk at the corners that stays flexible and doesn’t pull away from the tile within a year.
- No musty smell near the shower or at the ceiling below.
- No efflorescence (white powdery staining) on the grout, which means water is moving through it.
- No soft spots in the drywall adjacent to the shower wall.
The gap between code compliance and quality waterproofing is real. A pan can be built to code and still leak within two years if the liner was punctured at the fastener or the weep holes got blocked. When you’re planning a remodel, ask in writing for the flood test and the membrane photos. Any contractor who’s doing the work properly will hand them over without a conversation. If we’re doing the work, that documentation is part of the project file you get at the end, alongside the workmanship covered under our 730-Day Done Right Promise.
How Do I Present a Problem to My Contractor?
The fastest way to get a warranty issue resolved is to make it easy for the contractor to see what you see. Vague descriptions slow things down. A tight, dated photo set moves it forward. In our experience the reports that get resolved in one visit include the same four things.
- A timeline. When did you first notice it, what changed around that time, and how has it progressed. Two sentences is fine.
- Wide photos and close photos. A wide photo that shows the whole wall or floor with a reference point (a door, the toilet, the shower) so the contractor can orient themselves. Then a close photo with a tape measure or a coin in frame for scale.
- A moisture reading if you have one. A cheap pin-type moisture meter costs less than the gas to drive a technician out twice. Photograph the reading with the location in frame.
- A written summary in the body of the email, not just the subject. Include the original project date and the scope item.
Two rules that make a difference: don’t caulk over the problem before the contractor sees it, and don’t let a handyman cut into it in the meantime. Every intervention changes the evidence. A contractor who’s going to stand behind the work needs to see the problem in its original state.
If a problem shows up within the warranty window, put it in writing with photos rather than describing it on the phone. Then follow up with a call. Calls answered by a live person, 24/7, make the follow-up easy at Groundwork Construction Co. of Henderson, which is one of the reasons we ask customers to call rather than leave voicemail on a problem they’re worried about.
What’s Different About Bathrooms in Henderson?
Henderson bathrooms face conditions that don’t show up in most remodeling guides. The combination of very low humidity, hard water, and intense summer heat creates a specific set of failures we see over and over.
Hard water and mineral scale. Southern Nevada water runs hard. That scale builds on showerheads, glass, and grout, and it weakens sealant faster than homeowners in softer-water markets expect. Annual caulk inspection and replacement in wet zones is not optional here.
Expansion and contraction. Summer interior wall temps near west-facing bathroom windows swing wider than in coastal climates. Grout and caulk take that movement. Soft joints at transitions prevent cracks that show up along the perimeter of a tile floor.
Attic duct runs in the heat. A fan duct that runs fifteen feet through a Henderson attic in July gets baked. Insulated flex duct that isn’t properly supported and insulated loses efficiency, and short runs to the outside are better than long ones here than they might be in a cooler climate.
Slab-on-grade plumbing. Many Henderson homes are built on slab, and a pan leak that gets into the slab is a much bigger deal than one that lands in a crawlspace. That’s why the flood test matters. We’ve seen leaks in Green Valley and Anthem where the water had nowhere to go but sideways into the adjacent wall.
If your remodel is part of a larger home improvement push, our team handles Groundwork Construction Co. of Henderson home remodels from foundation to finish line, with the same standard across trades. Homeowners planning exterior work alongside a bathroom project can review Fence Installation in Henderson for yard projects and Driveway & Pavers in Henderson for hardscape, and our additions team handles everything from Home Additions & ADU in Henderson when the bathroom is part of a bigger footprint change. We also work with trusted brand partners across every category, including CertainTeed and Owens Corning for roofing and siding work above the bathroom.
Common Mistakes to Avoid
- Regrouting without finding the cause. New grout cracks along the same line because the substrate is still moving. Diagnose flex first, then decide on grout, whether it’s a soft joint or a membrane repair.
- Caulking over evidence before the contractor sees it. Cosmetic fixes hide the problem and can void the warranty conversation. Photograph first, call second, and let the contractor decide what gets sealed when.
- Assuming a fan that makes noise is doing its job. Test it with toilet paper and check that the duct runs to the outside. Attic-dumping fans are common in Henderson.
- Using an unlicensed handyman for electrical work. Bathroom circuits are GFCI-protected for a reason, and a vanity light that’s been handled by someone without training is a fire risk. This is not a “save a few hundred dollars” category.
- Fixing the visible water damage instead of the source. Cutting into the ceiling and replacing drywall without tracing the leak upstream costs double. Trace before you cut.
- Ignoring slow leaks in a slab-on-grade home. Water that can’t go down goes sideways. A slow leak in a Henderson slab home adds up to much more damage than the same leak in a home with a crawlspace.
- Building the whole remodel around the lowest bid. The lowest bid is often the one with the least documentation, no flood test, and no membrane photos. Ask for the process, not just the number. The $1,000 off projects over $10,000 offer exists because the good process shouldn’t be priced out of reach, and the 0% financing for 18 months helps homeowners choose the right process, not the cheapest one.
See the difference
 Before
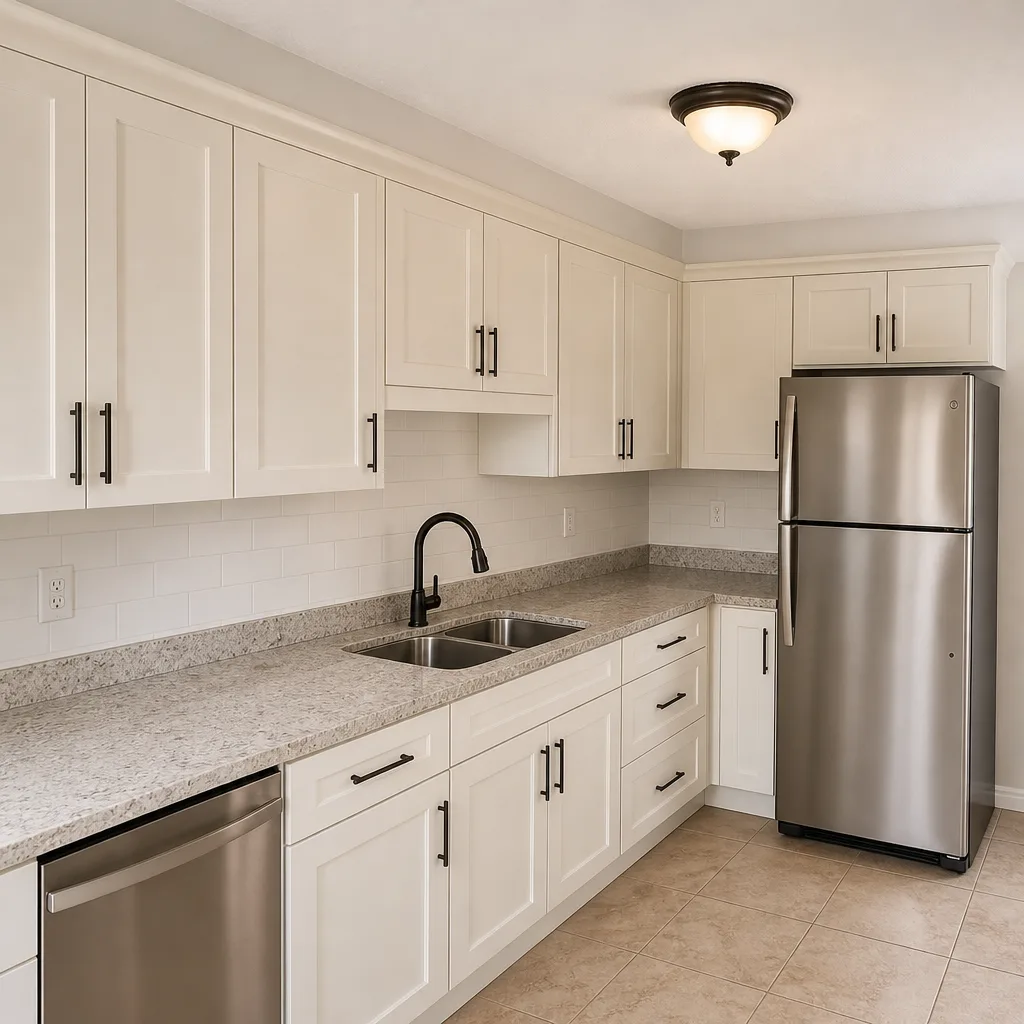 After
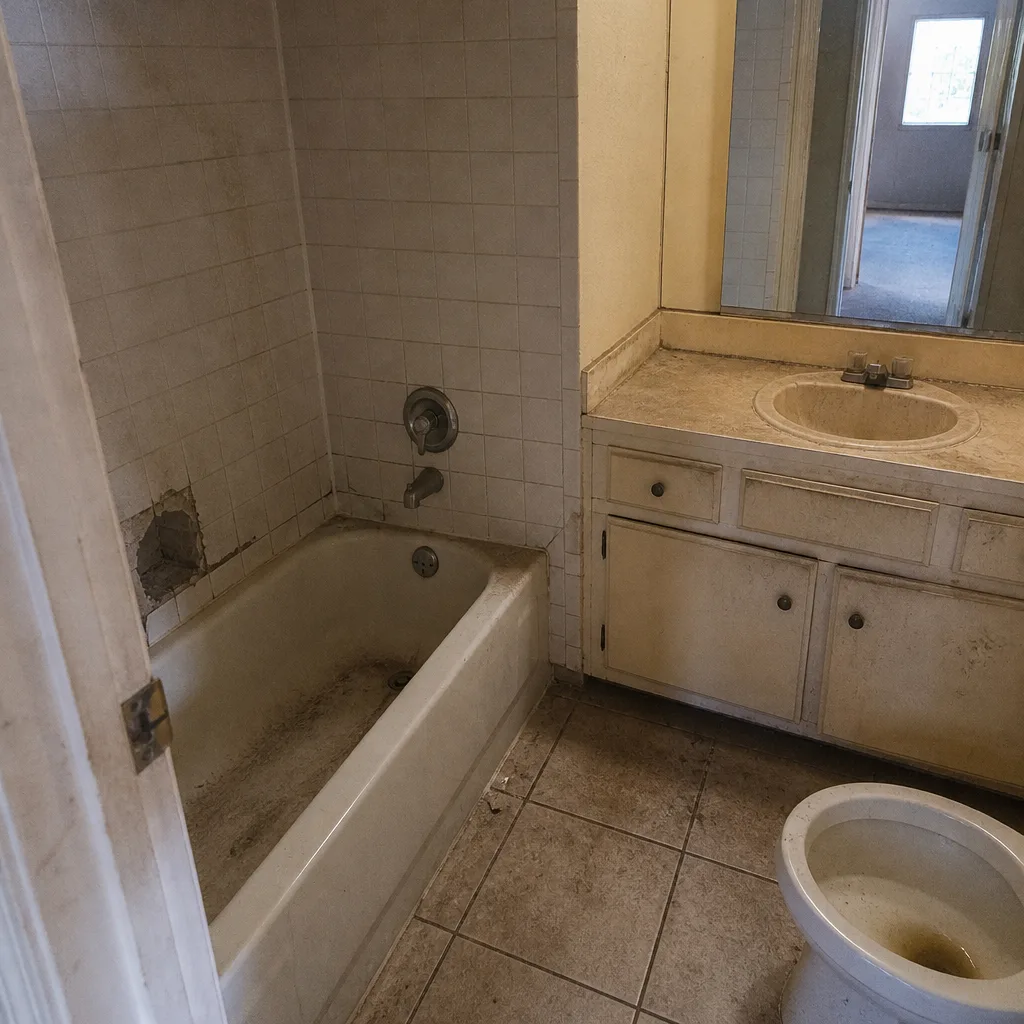 Before
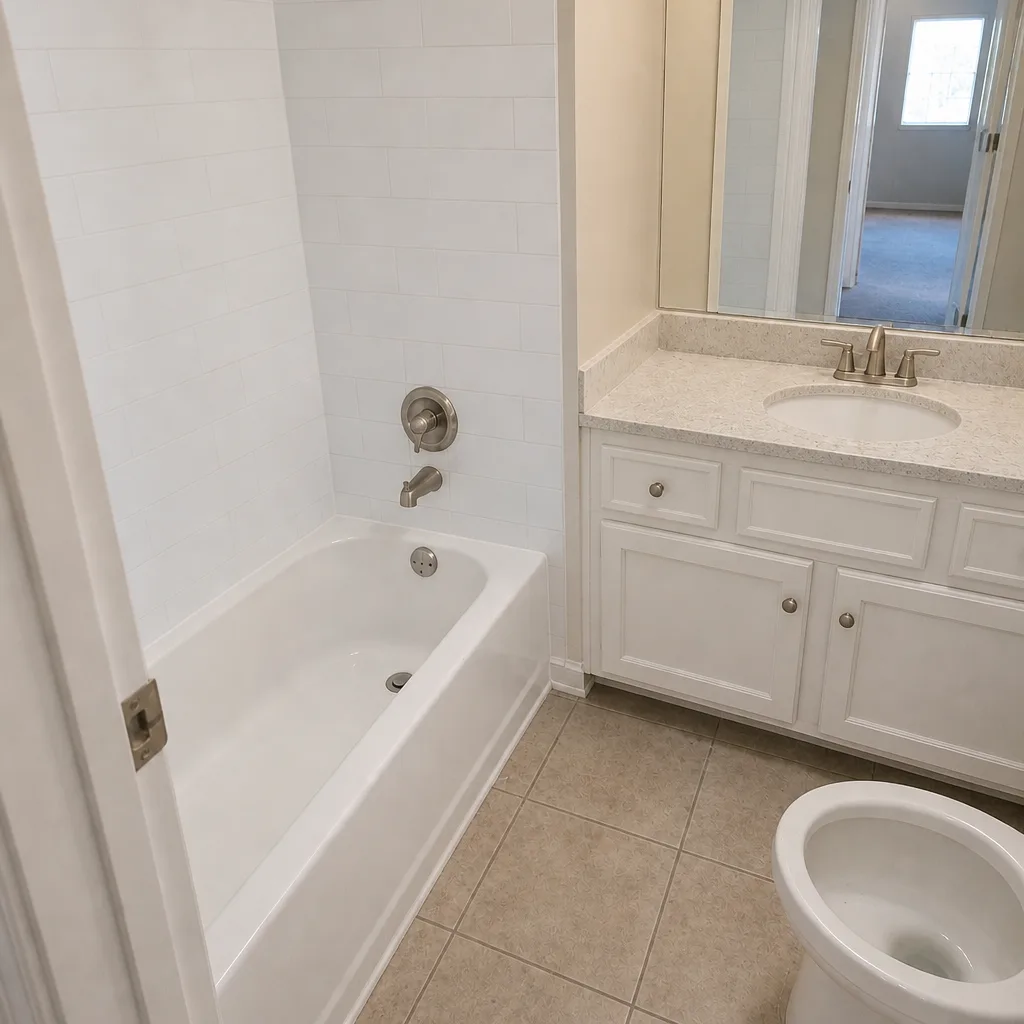 After
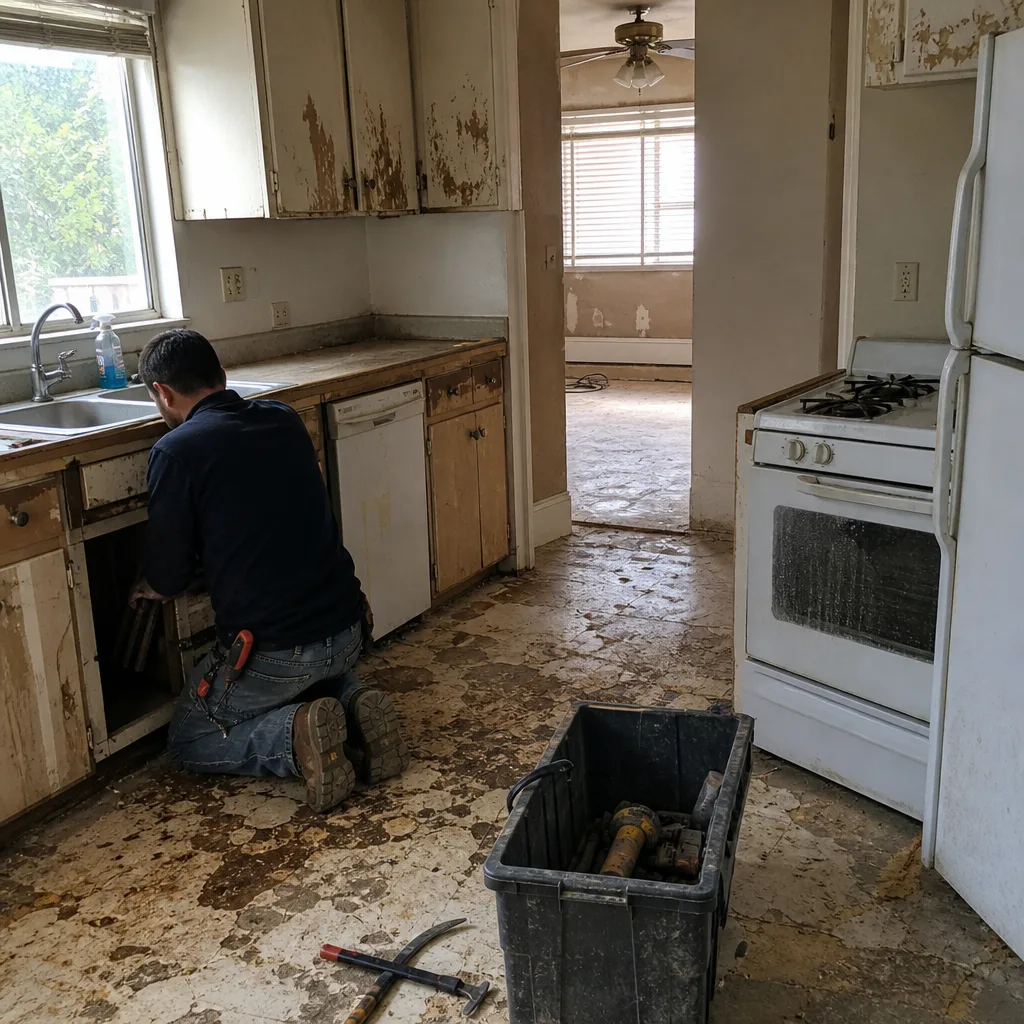 Before
 After
When to Call a Professional
Call a professional today if water is coming through the ceiling below the bathroom, if the shower pan is holding water that doesn’t drain, if a GFCI trips repeatedly or won’t reset, or if you smell sewer gas near the base of the toilet and the surrounding floor feels soft. Those are the four categories where waiting turns a repair into a rebuild. Also call if the bathroom has any of the signs in this guide but you’re not sure what’s causing them. Diagnosing the wrong cause is how homeowners end up paying twice. Groundwork Construction Co. of Henderson offers free project estimates in Henderson with a written line-item scope, and our team can walk a bathroom issue from diagnosis through repair. Call (844) 320-6757 to schedule yours. Upfront pricing, no surprises, and if the issue is tied to work we did, the 730-Day Done Right Promise kicks in.
Frequently Asked Questions

Repairing a leaking shower pan in Henderson typically runs $800 to $2,500 for a pan rebuild without re-tiling the walls, and $3,500 to $7,500 if the shower has to be fully gutted and re-tiled. The number depends on whether the leak got into the subfloor and whether the adjacent wall needs repair. Call (844) 320-6757 for an exact quote; estimates are free and quotes are line-item.
Cracking grout within the first year almost always means substrate movement or a missing expansion joint, not a bad grout product. Press on the floor near the crack to check for flex. If there’s give, that’s a structural fix. If there’s no give and the crack is at a perimeter or curb, it’s a soft-joint issue and the fix is a flexible sealant, not more grout.
Odors that persist past two weeks or that show up only in humid weather point to a wax ring failure, a dry P-trap, or inadequate exhaust ventilation. Run water in every fixture first. If the smell clears and stays clear, it was a dry P-trap. If it comes back, check the toilet base and test the fan with the toilet paper trick.
Permits are required for any work that involves moving plumbing, electrical, or structural elements, and most shower pan replacements. Cosmetic work like tile replacement and painting usually doesn’t require one. Groundwork pulls permits and passes inspections on all projects we do, and the permit record is part of the file you get at the end. Call (844) 320-6757 to confirm permit requirements for your project.
Not on a properly scoped project. Our quotes are line-item and fixed before work starts. When a hidden condition is found after demo – like a rotted subfloor under a shower pan – we stop, photograph it, and quote the change in writing before doing anything further. Customers approve or decline before the change hits the invoice.
Do the toilet paper test. Tape a single square to the grille and run the fan. If it holds flat for thirty seconds, the fan is moving some air. Then check where the duct goes. If it dumps into the attic instead of running to the outside, the fan is adding moisture to the attic even when it’s pulling air from the bathroom. Both matter, and both are fixable.
The Bottom Line
Bathroom remodel problems almost never start at the surface. Grout cracks follow substrate movement, smells trace to wax rings and dry traps and undersized fans, and leaks come from failures you never see in the finished bathroom. The quality of the waterproofing is what separates a bathroom that holds up for twenty years from one that needs a rebuild in three. Document everything with dated photos, ask for a flood test and membrane photos during the project, and put problems in writing before you touch the fix. If a problem in a Henderson bathroom is going past what you can diagnose, that’s the moment to call. We’re at (844) 320-6757, live person any hour of the day, and free project estimates come with a written scope, verified brand partners across every trade, and the 730-Day Done Right Promise. Built to last, backed in writing.
Written by the team at Groundwork Construction Co. of Henderson.