Last updated November 18, 2026

Free written scope consultation - allowances, timeline, and change-order rules on paper before a single trade is scheduled
DIY vs Professional Windows & Doors: What’s Safe to Do Yourself
A window installed a quarter-inch out of plumb looks perfect on the day the last screw goes in. You’d never spot it from the inside. But over 18 months of Henderson’s thermal cycling, where a July afternoon bakes the glass at 160°F and a January morning drops into the 30s, that frame racks. The sash stops sealing, the weatherstripping wears a gap, and suddenly your “money-saving” install is fogging up and leaking air. We’ve seen this exact failure on homes across Henderson, and it’s why we wrote this guide. You’ll learn which window and door work is genuinely safe for a homeowner, which crosses into structural territory, and how to participate in a pro project without touching the parts that cause years of problems.
Quick Answer
Weatherstripping, door hardware swaps, screen repair, and basic caulk touch-up at interior trim are genuinely safe for a homeowner to handle. Anything that touches the rough opening (the framed hole the window or door sits in), including replacement, reframing, flashing, or shimming, requires a licensed contractor in Nevada and carries a sharp water-intrusion and structural risk if done wrong. The cost of one bad DIY window install routinely exceeds what you’d have paid a professional to do it right the first time.
Styles & brands we work with
- Kitchen remodeling
- Bathroom remodeling
- Home additions & ADU
- Roofing
- Windows & doors
- Driveway & pavers
- Fence
Table of Contents
- The Safe DIY List, With No Asterisks
- Why the Rough Opening Is Where DIY Crosses the Line
- Nevada Licensing and the Structural Reason Behind It
- Level, Plumb, Square: The Tolerances That Decide Long-Term Performance
- What Bad Flashing Actually Costs to Fix
- Henderson’s Climate and Why It Punishes Sloppy Installs
- How to Participate in a Pro Window Project
- Common Mistakes to Avoid
The Safe DIY List, With No Asterisks
Some window and door work is genuinely homeowner territory. No caveats, no “call us if you’re not sure.” If you’re comfortable with basic hand tools and a ladder, these jobs are well within reach and they save you real money.
- Weatherstripping replacement. Pull the old strip from the door jamb with a putty knife, clean the channel, and press in a fresh foam or V-strip seal. A $15 roll fixes drafts in an afternoon.
- Door hardware swaps. Replacing a deadbolt, handle set, or passage knob is straightforward as long as the existing bore holes match the new hardware’s backset. Standard residential backset is 2-3/8 inches on most Henderson tract homes.
- Window screen repair. Re-screening a frame with spline and a roller tool is a $10 fix for a torn mesh. It has zero impact on the window’s weather seal.
- Caulk touch-up at interior trim. Where the interior casing meets drywall, a bead of paintable latex caulk improves the look and blocks air leaks. Use 100% silicone on the exterior side, never latex, because Henderson’s UV load destroys latex in a season.
- Door sweeps. A worn sweep at the bottom of an exterior door lets in air and pests. Replace it with a screw-on or slide-on sweep matched to your door thickness.
These jobs are worth doing yourself. They don’t require permits, they don’t touch the rough opening, and if you get them slightly wrong, the worst outcome is a draft or a cosmetic flaw. That’s the dividing line.
Why the Rough Opening Is Where DIY Crosses the Line
The rough opening is the framed hole in your wall that a window or door slides into. The moment your project requires resizing that hole, adding framing, or removing and reinstalling an entire unit, you’ve moved from “homeowner maintenance” to “structural modification.” Those are not the same category of work.
Framing isn’t complicated on paper. Cut the studs, install a header, add king and jack studs, and you’ve got a rough opening. But in a Henderson home built in the last 30 years, that wall likely carries load, sits against a stucco exterior, and contains a moisture barrier that has to be re-tied to the new opening. Get the header sizing wrong and the wall sags. Fail to re-tie the weather barrier and stucco cracking follows. Get the flashing wrong and water finds the sheathing, which is the expensive part.
We’ve watched homeowners attempt a window replacement on a Saturday afternoon, get halfway through, discover the rough opening is short by half an inch, and end up with a hole in their exterior wall while they call around for a pro on Monday. That half-inch is the whole problem. It doesn’t look like structural work, but it is.
The safe rule: measure the opening, order a window that fits it, hire a pro to install it. If the existing opening isn’t a fit for the window you want, that’s a conversation to have with a licensed contractor, not a pry bar.
Nevada Licensing and the Structural Reason Behind It
Nevada requires a licensed contractor for structural alterations, which includes modifying rough openings or replacing a window in a way that changes the opening. This isn’t a bureaucratic hoop. It exists because the state has seen the aftermath of unpermitted alterations on enough homes to know what the failure rates look like.
The requirement exists for three concrete reasons:
- Load path integrity. Modifying a rough opening changes how the wall carries load. A licensed contractor knows how to size a header and how to transfer load to the studs without creating a future sag.
- Waterproofing ties. Every penetration in your exterior envelope has to be sealed, flashed, and integrated with the existing weather barrier. This is inspectable work, and it’s what protects the wall cavity from water damage.
- Permit and inspection trail. Lenders, insurers, and future buyers ask about permits. An unpermitted window install can complicate a real estate transaction years later. A permitted install comes with a paper trail that closes that risk.
If you’re planning work on your home and want to understand how scope and permitting fit together, we cover it in detail on our Groundwork Construction Co. of Henderson home page and in our full-scope work on Home Additions & ADU in Henderson, where rough-opening changes are a routine part of the conversation.
Level, Plumb, Square: The Tolerances That Decide Long-Term Performance
A window or door that’s within tolerance looks and functions correctly for decades. A window that’s slightly out of tolerance looks fine on install day and fails in year two. The difference between those two outcomes comes down to level, plumb, and square, and getting those three right requires tools and experience most homeowners don’t have on hand.
- Level. The sill has to be level within roughly 1/16 inch across the width. A 6-foot level or a laser level is required to verify this. A carpenter’s level on a 3-foot window will lie to you.
- Plumb. The frame has to be plumb within about 1/16 inch. If the frame leans, the sash binds or gaps form. That binding is what racks the frame over thermal cycling.
- Square. Diagonals across the frame have to match within 1/16 inch. If they don’t, the window sags, and every operable part of the unit misaligns.
- Shimming. Shims go in specific locations, not everywhere. Over-shimming bows the frame. Under-shimming leaves the unit unsupported. The right spacing depends on the window size, the material, and the installation method.
These aren’t gold-plated tolerances. They’re the industry standard, and they exist because the physics of a window depends on them. When we install windows on a Henderson home, we use laser levels, calibrated shims, and spec-matched fasteners to hit them. Without those tools, you’re gambling on the result.
What Bad Flashing Actually Costs to Fix
Bad flashing is the disease that silent window failures turn into. The window looks fine. The interior wall looks fine. Then spring comes, the wall cavity gets wet, and you find the damage six months later when the paint bubbles or the drywall turns soft.
The cost of remediation is what makes DIY window installs an expensive bet. Here’s the real comparison:
| Scenario | Typical Cost |
|---|---|
| DIY window install (materials + tools only) | $250 – $600 per window |
| Professional install, standard window, Henderson market | $600 – $1,400 per window, installed |
| Water damage remediation (drywall, framing, sheathing, flashing redo) | $1,800 – $6,500+ per window |
| Full replacement including rotted framing after failed DIY | $2,400 – $8,000+ per window |
The math is obvious once you see it. A DIY window saves you $350 – $800 on the front end. A single failed window costs $1,800 or more to remediate, and the failure often shows up after the warranty window on your materials has closed. If you saved $500 per window on six windows, you’re up $3,000. One failure and you’re down several hundred, with a mess in your wall.
For homeowners replacing windows across a whole house, we handle full-scope work with major manufacturers including Andersen and Marvin, both of which build products suited to Henderson’s climate and come backed by material warranties. We pair that with our 730-Day Done Right Promise, which means if a window leaks or misfits inside two years of install, we make it right.
Henderson’s Climate and Why It Punishes Sloppy Installs
Henderson sits in the Mojave Desert at roughly 1,800 feet elevation, which means dry air, intense UV, and a thermal swing between day and night that runs 30 to 40 degrees on most of the calendar. Windows and doors in Henderson work harder than in almost any other climate in the country.
That swing is the mechanism behind every failure mode we’ve described. When a frame is properly shimmed and fastened, the thermal expansion and contraction runs through the frame as designed. When a frame is slightly racked or under-shimmed, that same cycling works the fasteners loose, walks the frame out of true, and slowly opens gaps at the weatherstripping. Air leaks follow. Then water.
Henderson’s stucco exterior adds another factor. Stucco is rigid and unforgiving. If a window or door installation flexes under thermal cycling, the stucco around it cracks. Cracking stucco is a leading path for water to reach the sheathing. On a home in Green Valley or Anthem, a cracked stucco band around a window is a warning sign worth investigating, not a cosmetic issue.
Our technicians have up to 12 years of experience on this exact climate and this exact construction style. That experience is what we bring to every window and door job in Henderson, and it’s why we don’t cut corners on shimming and flashing.
How to Participate in a Pro Window Project
You don’t have to sit on your hands during a professional window or door project. There’s real work you can own while the contractor handles the structural side, and it saves the project time and reduces the final bill.
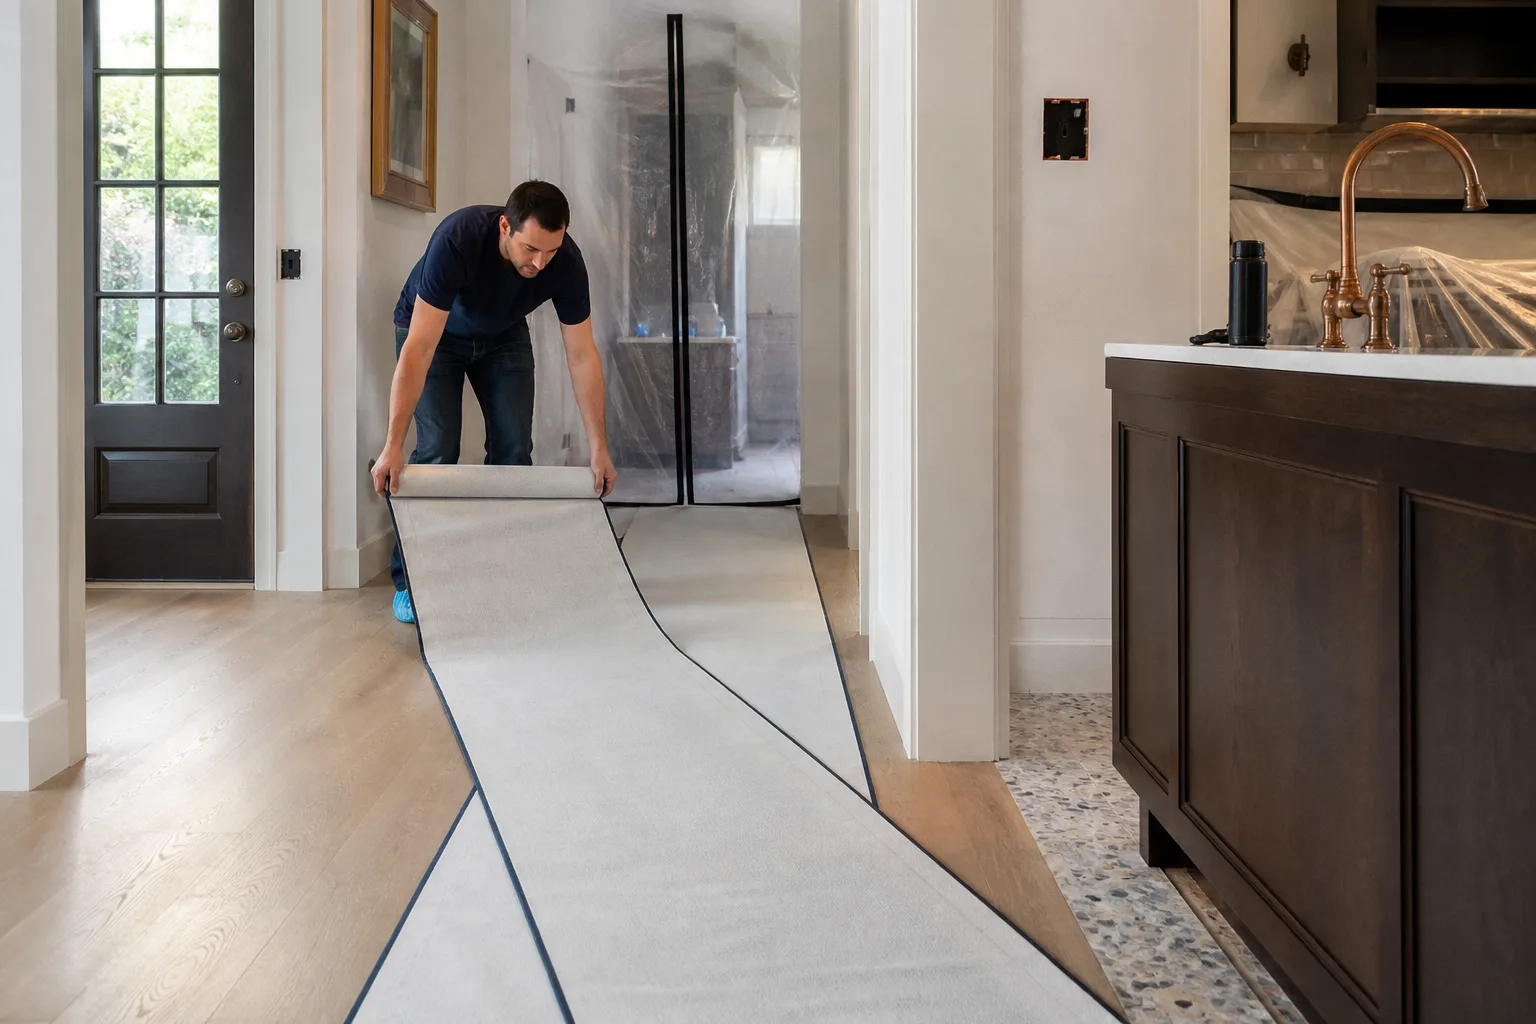
- Prep the work area. Clear the walls, move furniture, and pull back the window coverings before the crew arrives. A clear path saves 30 to 60 minutes per opening.
- Handle interior trim painting. Once the trim is installed, painting it is a homeowner job. Pick your color, prime raw wood, and paint the interior casing while the installation crew is still on site.
- Choose the hardware. Selecting your own door handles, deadbolts, and window hardware before install means the install matches your taste and the hardware brand you prefer.
- Select finishes and glass options early. Low-E coatings, tint levels, and grid patterns affect lead time. Making these decisions weeks before install keeps the project on schedule.
- Document conditions before and after. Photos of the existing frames, the roofline, and the surrounding stucco give the contractor reference and give you a record of the starting condition.
We keep a live person answering calls around the clock, so questions during a project don’t go to voicemail. That level of responsiveness matters when you’re the decision-maker on a six-window project and you need answers about hardware, glass, or finish choices on a timeline.
Common Mistakes to Avoid
- Assuming “replacement” and “new construction” windows are interchangeable. Replacement windows fit inside the existing frame; new construction windows require the rough opening to be exposed. Choosing the wrong type for a DIY attempt means a full redo.
- Caulking over wet wood. We see this in Henderson on older homes in neighborhoods like Mission Hills, where a DIY caulk job traps moisture behind the bead for years. Caulk is not a flashing substitute.
- Skipping the shim at the middle of the sill. A window that isn’t shimmed at the center of the sill sags over time and creates water pooling. The gap looks minor on install day and isn’t.
- Using the wrong fastener. Exterior window installs in Henderson require fasteners rated for the specific substrate and corrosion resistance. Drywall screws rust out, and short fasteners pull free of stucco.
- Assuming the old flashing can be reused. Existing flashing on a 15-year-old window is already past its useful life. Reusing it during a DIY swap embeds a failure from day one.
- Forgetting to check the rough opening for rot before ordering. On Henderson homes built before 2000, we regularly find hidden rot at the sill during replacement. Ordering a window before the opening is inspected means a return or a wait.
- Missing the permit trail. Selling a home with unpermitted window work means a buyer’s inspection will flag it, and it can slow a closing. The permit is cheap; the transaction risk is not.
See the difference
 Before
 After
 Before
 After
 Before
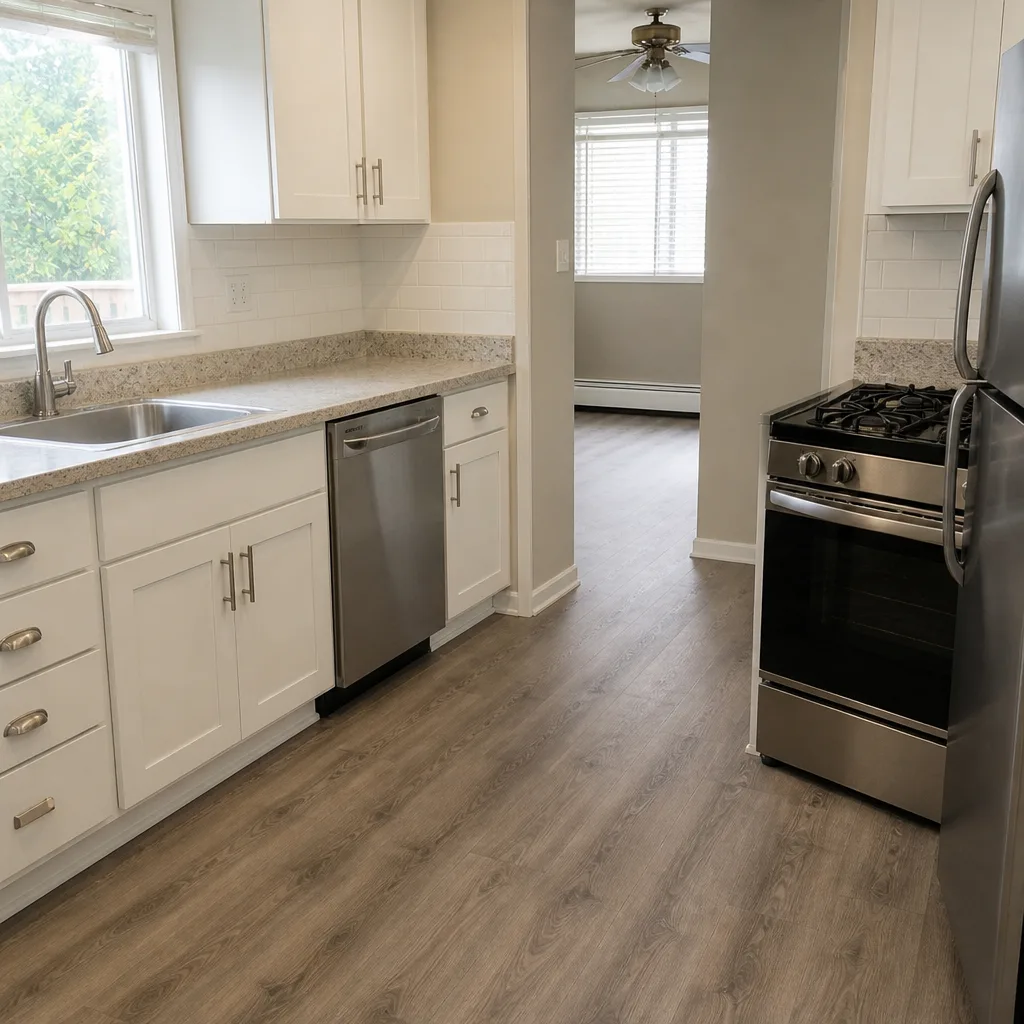 After
When to Call a Professional

Call a professional for any project that involves the rough opening, reframing, flashing, or replacing an entire window or door unit. Also call if a window or door has ever leaked, if you see cracked stucco around an opening, or if the existing unit is more than 15 years old, because the removal is likely to reveal conditions worth a trained eye. If you’re weighing a larger project like a patio or exterior upgrade, our work on Driveway & Pavers in Henderson and Fence Installation in Henderson shows how we handle exterior scope and weatherproofing every time.
Groundwork Construction Co. of Henderson offers free estimates in Henderson. Call (844) 320-6757 to schedule yours, and a live person will pick up.
Frequently Asked Questions
You can replace the hardware, weatherstripping, and screen yourself. You cannot legally replace an entire window or modify a rough opening without a licensed contractor in Nevada. If the window itself comes out of the wall, that crosses into permitted structural work, and we strongly recommend a licensed pro handles it.
Most full-window replacements in the Henderson market run $600 to $1,400 per window installed, depending on size, glass package, and whether framing changes are needed. That includes flashing, shimming, and permitting. Free estimates give you an exact number. Call (844) 320-6757 for pricing specific to your home.
Yes, interior caulk touch-up at trim is genuinely DIY-appropriate. Exterior caulking on a window or door requires removing failing caulk back to clean substrate, inspecting for water intrusion, and using UV-rated silicone. If any part of the exterior bead is loose, call a pro, because caulking over a wet substrate hides a problem that costs much more to fix later.
A quarter-inch out of plumb is the kind of error that shows up as a failure 18 months later. Henderson’s thermal swing cycles the frame 30 to 40 degrees per day, and a racked frame works its fasteners loose and opens gaps at the weatherstripping. The frame has to be plumb within about 1/16 inch for the window to hold up.
Yes. Permitted work is standard on every window and door project we take on in Henderson. We handle the permit application, the inspection scheduling, and the final documentation, so you get a clean paper trail for future lenders, insurers, and buyers. Call (844) 320-6757 to talk through your project scope.
Most single-window replacements are completed in a few hours, and whole-home projects often wrap in one to three days, depending on how many openings and how much framing work the rough opening requires. Stucco repair around a new window can add a day at the end. We confirm the schedule before the project starts and stick to it.
The Bottom Line
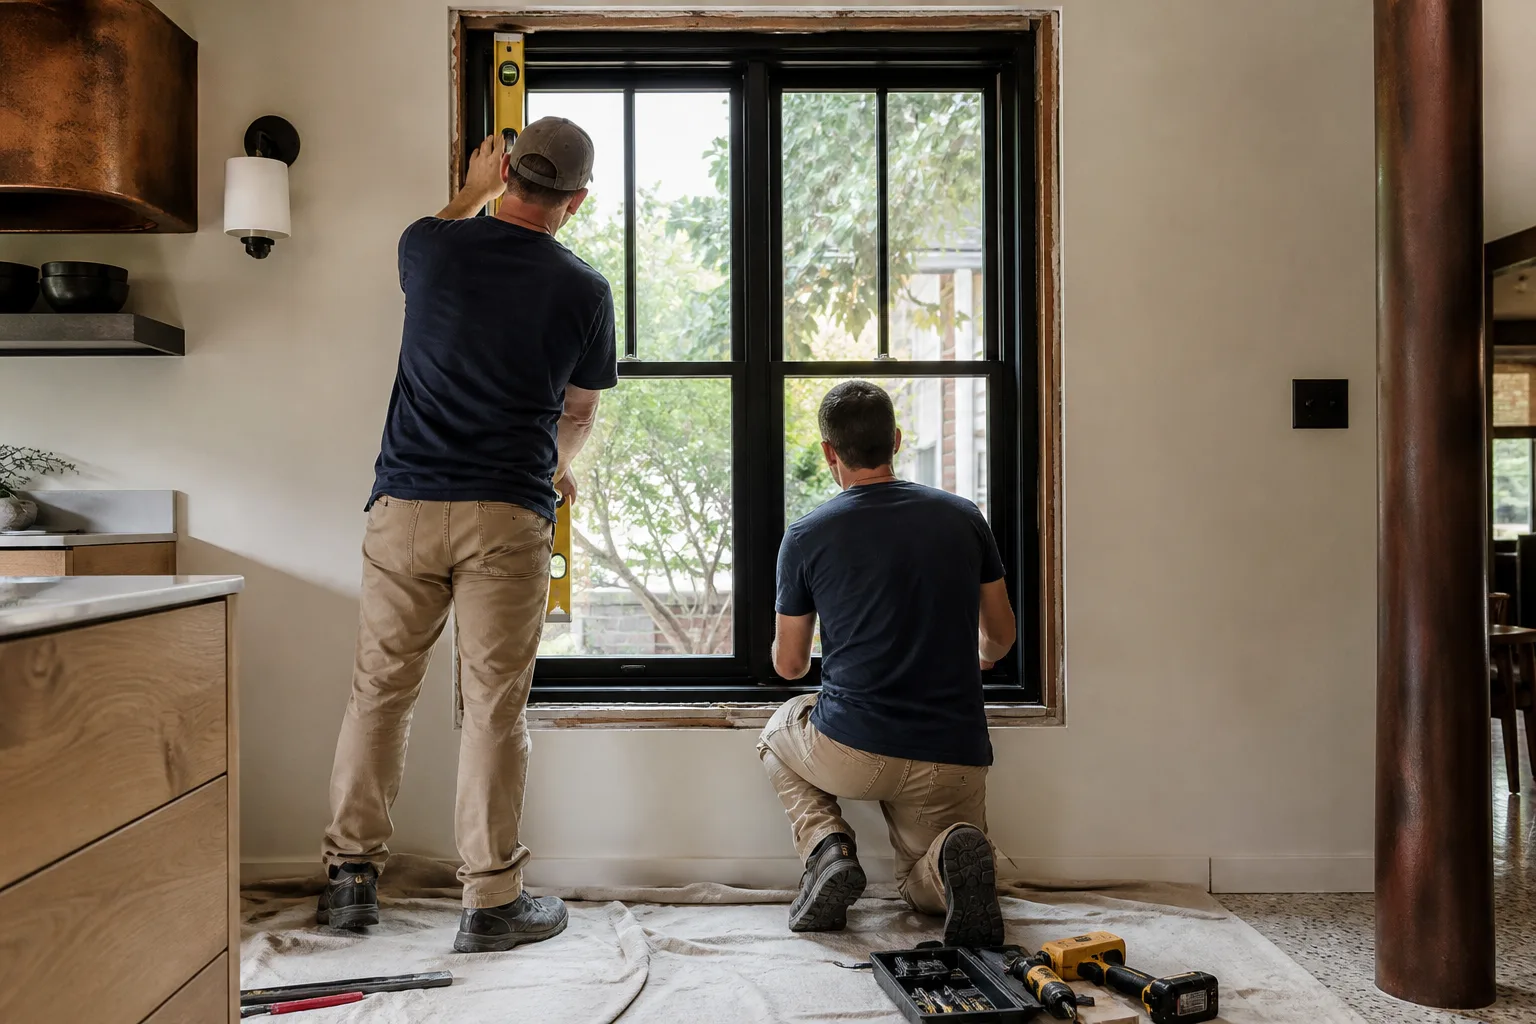
Safe DIY window and door work is limited to weatherstripping, hardware swaps, screen repair, door sweeps, and interior caulk touch-up. Everything else, from a plumb and level install to flashing and rough-opening reframing, crosses into structural territory where Nevada’s license requirement exists for real reasons. The math is decisive once you include remediation: a window install done wrong can cost several times what a professional installation would have run. Groundwork Construction Co. of Henderson handles full-scope window and door work with curated brand partners like Andersen and Marvin, backed by the 730-Day Done Right Promise and upfront pricing with no surprises. Our technicians have up to 12 years of experience on Henderson homes, and the work is done right, in writing.
Call (844) 320-6757 to schedule your free project estimate and design consult. A live person answers around the clock, and every estimate comes with a written scope you can compare line by line.
Written by the team at Groundwork Construction Co. of Henderson.