Last updated November 18, 2026
Free written scope consultation - allowances, timeline, and change-order rules on paper before a single trade is scheduled
Driveway & Pavers Troubleshooting: Common Problems and How to Fix Them
If you’ve re-seated the same paver twice, you haven’t fixed anything – you’ve just reset the clock on the same failure. We’ve pulled interlocking pavers out of driveways across Henderson, and the story underneath is nearly always the same: the loose brick was the last thing to go bad, not the first. The base gave out weeks or months before the surface noticed. Water got in, soil shifted, and the pavers simply made the failure visible. In this guide, we’ll show you how to tell a cosmetic problem from a structural one, why Henderson’s monsoon season does more damage to local driveways than any vehicle ever will, and what a real repair actually looks like when the root cause is fixed.
Quick Answer
Most driveway paver problems in Henderson trace back to base layer failure, not the pavers themselves – a loose, cracked, or sunken paver is a symptom of water movement in the sand and gravel underneath. Loose pavers, white efflorescence, and midsection cracks can often be repaired without a full rebuild, but heaving, widespread rocking, and cracks that follow a tree line usually mean a section needs pulled, re-graded, and rebuilt. Fixing the visible damage without addressing drainage and base compaction is what causes the same repair to come back within a season.
Table of Contents
- Surface Damage vs. Base Failure: How to Tell the Difference at Home
- Why Henderson’s Monsoon Season Is the Real Culprit Behind Paver Shifting
- Reading Crack Patterns: Tree Roots vs. Soil Settlement
- Efflorescence: Cosmetic Staining or a Moisture Warning Sign?
- The Repair Decision Matrix: What’s a Weekend Fix vs. a Section Rebuild
- What Drainage Correction Actually Looks Like
- Preventing the Same Failure From Returning
Surface Damage vs. Base Failure: How to Tell the Difference at Home
The single most useful skill in paver troubleshooting is learning to tell the paver’s problem from the ground’s problem. The paver is a 2-3/8 inch thick brick of concrete or clay. The base is 4 to 8 inches of compacted aggregate, a layer of bedding sand, and whatever the soil under the whole system is doing. When pavers fail, the brick is virtually never the culprit. The base is.
Here are three at-home tests you can run this weekend to figure out which one you’re dealing with.
- The wobble test. Step on the suspect paver and rock your weight side to side. A paver that rocks against its neighbors is sitting on a void. On a properly built base, pavers lock and don’t move. Voice and movement mean the sand beneath it has washed away or the aggregate has settled.
- The corner-lift test. Slip a key or a putty knife under one corner of the suspect paver. If it slides in more than a quarter inch with no resistance, the bedding sand has eroded. Lift the paver with two flat-head screwdrivers and look at what’s underneath. Clean sand = a settling problem. Muddy or discolored sand = active water intrusion, which is a base problem, not a surface one.
- The straightedge test. Lay a 4-foot level or a straight board across the suspect area. Any dip or rise of more than 1/4 inch across the span is a base issue. A single raised paver is usually a small aggregate shift. A whole section that rises and falls together is a base failure that a re-set won’t solve.
If you’ve already re-seated a paver more than once and it keeps coming back, the base beneath it is moving and no surface repair will hold. That’s where a free estimate from Driveway & Pavers in Henderson pays for itself – the diagnostic tells you whether you’re looking at a paver or the ground under it.
Why Henderson’s Monsoon Season Is the Real Culprit Behind Paver Shifting
Ask a Henderson homeowner what destroys paver driveways and you’ll hear about heat, sun, maybe heavy trucks. Ask anyone who’s repaired one and you’ll hear about water. The monsoon pattern we get from July through September drops more rain in a 45-minute burst than some months deliver in total. That water hits a hot, sun-baked surface, the caliche-rich soil underneath loves to trap it, and the base layer does what waterlogged aggregate always does: it moves.
The order of operations matters. During a heavy rain event, the packed soil beneath the paver system saturates and swells. Then the sun comes back, the soil shrinks, and it pulls away from the base. Repeat that cycle three or four times in a summer and the aggregate that was compacted to 95% density a few years ago is now sitting in pockets. Bricks above the pockets start rocking. Water gets further into the loosened aggregate next storm. The failure accelerates.
This is why the paver-to-sand-to-aggregate-to-soil stack is the correct mental model. Every layer is doing a job, and water is the one thing that can break all four at once.
The fix is drainage, not more sand. Good drainage correction on a Henderson property usually involves:
- Re-establishing the slope. Driveways should pitch away from the garage and any adjacent structure at roughly 2% (a quarter inch per foot). Many failures we see were installed nearly flat.
- Adding a channel drain or trench drain at the low point of the driveway, which is almost always right at the garage apron. Without a low-point outlet, water pools under the pavers.
- Over-excavating under the failing zone and replacing compromised soil with engineered fill, then re-compacting in lifts.
- Verifying the subbase is free-draining. If the underlying soil is caliche-heavy or clay-dominant, it will hold water against the base no matter what slope you build.
If you haven’t yet installed pavers and want to get this right from the start, the base and drainage work is where 90% of the money should go. That’s a conversation we have with almost every Henderson homeowner before a paver job begins.
Reading Crack Patterns: Tree Roots vs. Soil Settlement
Not all cracks are the same problem, and treating them that way wastes money. The shape and location of the crack tells you almost everything about what’s happening underneath. We’ve pulled enough paver driveways in Henderson to give you the pattern map.
Cracks from soil settlement
Settlement cracks tend to appear as long, roughly straight lines across open driveway areas – not along the edges and not near any tree. They often radiate outward from a dip. The cause is soil that was never compacted properly at installation, or has since been undermined by water. New construction homes in fast-built subdivisions are especially prone to this on the front portion of the driveway where the builder’s grading was rushed.
These cracks often appear in the first two years on a new build. If your Henderson home is under about five years old and you’re seeing settlement cracks, it’s usually the original base grade, not a new problem.
Cracks from tree root intrusion
Root cracks are organic-looking. They arc, curve, and cluster near a tree – often a mature ficus, palm, or mesquite in a Henderson front yard. You’ll see the crack pattern curve in parallel to a fence line or a driveway edge, because roots grow along the path of least resistance under the hard surface. The pavers themselves are usually lifting and rocking on top of the root, not cracked through the middle.
The tell: lift one paver in the crack zone. If you see a fibrous root or root tip under it, it’s a tree root job, not a paver job. A root barrier installed along the driveway edge is the standard fix. Cutting the root out without a barrier just resets the clock.
Cracks that follow the driveway edge
Edge cracks – where pavers meet the garage floor, the sidewalk, or the curb – are almost always a restraint failure. The plastic edge restraint or the concrete curb that’s supposed to lock the field of pavers in place has failed, and the pavers are spreading outward. This is a repair, not a rebuild, but it will recur if the restraint isn’t replaced with a properly spiked, correctly-set unit.
Efflorescence: Cosmetic Staining or a Moisture Warning Sign?
Efflorescence is the chalky white bloom you see on some concrete pavers, and most homeowners assume it’s a stain to scrub off. Sometimes it is. Sometimes it’s the best early warning you’ll get that your base has a water problem.
Here’s the difference. Efflorescence happens when water moves through the paver, dissolves mineral salts from the concrete, and deposits them on the surface as the paver dries. A light bloom right after installation, or once a season, is cosmetic. It means the paver is doing what pavers do. A continuous, reappearing bloom that starts in one section and spreads – especially if it correlates with a low spot, a tree, or the bottom of a slope – usually means water is moving through the base and up through the paver more than it should.
How to tell cosmetic from structural
- Cosmetic: A light bloom, uniform across the driveway, that brushes off with a broom and doesn’t return for months. Common on new installs for the first 6 to 12 months. Treat with an efflorescence remover and wait.
- Structural warning: A heavy bloom concentrated in one or two spots, reappearing within weeks, often combined with that area staying damp longer than the rest of the driveway after rain. This is a moisture-intrusion sign.
- Critical warning: Combined efflorescence with any paver rocking, a dip, or joint sand that keeps washing out. This means active water movement under the pavers and is a base repair decision, not a cleaning decision.
One Henderson-specific note: pool deck pavers and pavers around any evaporative cooler or irrigation head often show heavy efflorescence because the surface is wet far more often than a driveway. A bloom on a driveway with no adjacent water source is a much stronger signal than a bloom on a pool deck.
If the bloom keeps coming back in the same spot after two cleanings, get it looked at. Do not seal over an active efflorescence problem – the seal will trap moisture and turn a cosmetic issue into a paver delamination problem within a season.
The Repair Decision Matrix: What’s a Weekend Fix vs. a Section Rebuild
Here’s where most homeowners overpay or underpay. A loose paver can be a $50 fix and a decent afternoon. A failing base section is a full pull-and-rebuild. The mistake is deciding based on how bad it looks instead of what’s moving underneath. Use this matrix.
Weekend fix – you can do these yourself
- One or two loose pavers in an otherwise flat, stable field. Lift, clean, re-bed with fresh sand, re-set, re-sand the joints, compact.
- Washed-out joint sand after a monsoon storm, with no rocking or settling. Sweep in polymeric or regular joint sand when the pavers are dry and the forecast is clear for 48 hours.
- Light cosmetic efflorescence that brushes away and returns only after long intervals.
- Chipped or cracked single paver, no adjacent movement. Swap in a matching unit.
- Failed edge restraint in a small run. Replace the plastic restraint with a new spiked unit, re-sand, done.
Call a pro – these need the base addressed
- A section of 6+ pavers rocking together. That’s a base pocket. Re-sanding won’t hold.
- Any heaving or “tenting” – pavers lifting in a ridge. Root intrusion or frost-style heave (rare in Henderson but possible near irrigated landscaping) is underneath.
- Dips pooling water for more than 24 hours after rain. Active drainage failure.
- Crack pattern following a tree line, with no surface damage on the pavers themselves. Root problem.
- Edge spread wider than 1/2 inch or pavers moving toward the street. Restraint failed structurally.
- Reappearing efflorescence plus any movement. Moisture is entering the base.
Full rebuild – when the whole system fails
- More than 30% of the driveway shows movement, dips, or settled areas.
- The original install skipped an edge restraint and pavers are spreading outward at all edges.
- The base was constructed too thin (under 4 inches of compacted aggregate) and the entire field is failing uniformly.
- Recurring failure in the same zone after two separate repairs within three years.
If you’re in the “call a pro” column but not sure whether it’s a section or a full rebuild, that’s the diagnostic conversation. Groundwork Construction Co. of Henderson offers free estimates on driveway and paver work in Henderson, and the estimate spells out what’s a repair, what’s a rebuild, and what it costs. No change orders after the work starts.
What Drainage Correction Actually Looks Like
“Fix the drainage” is easy to say and vague to deliver. Here’s the actual playbook we follow on Henderson paver driveways, and it applies whether the driveway is 200 square feet or 2,000.
- Map the water path. We watch where water pools during a test flood from a hose, and we read the slope of the driveway with a laser level. Water always finds the low point – that low point is the ground truth for where drainage has to change.
- Cut and lift the failing section. A section of pavers needs pulled back (usually 3 to 6 feet in each direction from the failure) so the base underneath can be inspected and rebuilt. This is where the diagnosis lives. Skip it and you’re guessing.
- Address the low point. In a Henderson driveway, the low point is often the apron. We either add a channel drain at the garage door threshold or re-pitch the base to daylight the water at the street if local grading allows. Henderson’s drainage code is enforced at the permit and inspection stage, and any change to discharge direction can require a permit – we handle that.
- Rebuild the base. Remove compromised aggregate. Install new engineered aggregate (usually Class 5 or AB3 depending on the subgrade). Compact in 2-inch lifts to proper density. Install a geotextile fabric under the aggregate over native soil to prevent pumping.
- Re-set the pavers and restraint. Bedding sand, pavers, edge restraint spiked to full depth, joint sand swept in, compacted, done.
- Test. Hose-test the repaired section before we clean up. If water pools anywhere for more than 30 minutes, it isn’t right yet.
The reason we take this kind of care: the 730-Day Done Right Promise on our workmanship covers exactly this. If a repaired section starts moving or pooling within that window, we come back and make it right. That’s a commitment most paver contractors in Henderson won’t put in writing, and it’s what separates a real repair from a re-set that just buys time.
If your driveway project is close to another outdoor improvement – extending a paver patio into a new side yard, or tying a driveway into a new fence line – it can pay to plan those together. Our Fence Installation in Henderson and Home Additions & ADU in Henderson teams coordinate on grading and drainage so one trade doesn’t undo the other.
Preventing the Same Failure From Returning
The single most expensive mistake in paver repair is fixing the visible failure and not the water path. Three things keep a repair from coming back.
Get the slope right the first time. A driveway pitched 1% when it should have been 2% will fail again. There’s no product that compensates for bad slope. Verify the pitch on the repair before signing off.
Use a real joint sand. Polymeric joint sand is more expensive and worth it in Henderson, because the monsoon wash-out problem is real. Standard sand needs replenishing every 1 to 2 years here. Polymeric buys you 3 to 5 years between top-ups and resists the wash that turns into a rock.
Watch moisture sources near the driveway. An irrigation head pointed at the pavers, a downspout terminating on the driveway, a missed swale – all of these dump water at the exact spot where the base is weakest. Correct them before the next monsoon.
For homeowners planning a larger outdoor project and thinking through how the driveway, patio, and structure tie together, our Groundwork Construction Co. of Henderson home page is a good place to see the full scope of what we handle and how the trades coordinate.
Common Mistakes to Avoid
- Re-sanding without finding the void. If you sweep sand into a joint over a rocking paver, the sand drains out within a month. The void underneath never got filled – that’s what needs fixed, not the joint.
- Sealing an efflorescence problem. A sealant traps the moisture under the surface and turns a cosmetic issue into paver delamination. Never seal until efflorescence has been dormant for at least one full season, and never seal a driveway with a dip.
- Cutting tree roots without a root barrier. Common Henderson mistake with ficus and palm roots. Cut the root, the tree grows a new one back in the same direction within a season. Barrier first, then repair.
- Re-setting a paver and skipping the compaction. Hand-press the paver into sand and it’ll be back out within weeks. A plate compactor plus a fresh bed of sand is the difference between a repair that holds and one that rocks again after the first storm.
- Paying for a rebuild when a section repair would hold. A good section rebuild on a Henderson driveway is often 60% cheaper than a full replacement, and it’s the right call when the failure is localized. Don’t let anyone talk you into a full replacement without a base exam first.
- Ignoring irrigation head placement. A single sprinkler head aimed at a paver driveway will dig a hole underneath it in one summer. Point heads away from the pavers or install a drip line. Ten-dollar fix, avoids a $2,000 section rebuild.
- Letting the joint sand wash out completely every storm. If you’re sweeping in new joint sand multiple times a season, the base drainage is failing. That’s the signal to call, not to keep buying sand.
When to Call a Professional
Call a professional when you’ve re-set the same paver twice and it’s back loose, or when a section of 6+ pavers is moving together. Call when a dip is holding water more than 24 hours, when a crack pattern follows a tree line, when the paver edge has spread more than half an inch, or when efflorescence keeps returning to the same spot no matter how many times you clean it. Those are all signs the base is failing, and no surface repair will hold. If you’re within our service footprint and want a straightforward diagnosis before you spend money on anything, Groundwork Construction Co. of Henderson offers free estimates in Henderson – call (844) 320-6757. A written line-item quote, no sales pressure, and the same number you see is the number you pay.
Frequently Asked Questions
Most small paver repairs in Henderson run a few hundred dollars for a one to three paver re-set, while a section rebuild (pulling a 3 to 6 foot zone, rebuilding base, re-setting) typically runs several hundred to low four figures depending on square footage and whether a drain is added. Full driveway replacement is priced per square foot and depends on base condition, drain requirements, and paver choice. Call (844) 320-6757 for an exact quote on your driveway – estimates are free and itemized.
Re-sanding alone works if the pavers are flat and stable and only the joint sand has washed out. If any pavers are rocking, dipping, or lifting, the base has a void and new sand will wash out within weeks. Run the corner-lift test: if a putty knife slides more than a quarter inch under a paver, the base is failing and re-sanding won’t fix it.
That’s efflorescence – mineral salts drawn to the surface by moisture in the paver. A light bloom in the first year after installation is cosmetic and can be cleaned off with an efflorescence remover. A heavy bloom that keeps returning to the same spot, especially combined with rocking or damp areas after rain, is a sign of moisture intrusion in the base and should be diagnosed before you seal or re-clean.
A paver driveway installed with a properly compacted base, correct drainage, and a restraint system typically lasts 25 to 40 years in Henderson’s climate, with joint sand top-ups every 1 to 3 years. Driveways that fail in 5 to 10 years almost always had a base or drainage problem at installation, not a paver quality problem. The pavers themselves outlast the base under them.
Henderson’s monsoon pattern – heavy, short bursts of rain on sun-baked soil – is the leading cause of paver shifting here. The soil swells when saturated, shrinks when it dries, and pulls the base aggregate out of compaction. Repeat that over a summer and the pavers start rocking. Drainage correction, not just re-setting the pavers, is the fix. Call (844) 320-6757 if the shifts keep recurring.
Cosmetic re-setting and joint sand work usually doesn’t require a permit. Rebuilding base, adding a channel drain, or changing where water discharges often does, depending on the scope and discharge direction. If your repair involves drainage changes, verify local requirements before work starts – we pull the necessary permits and get them inspected as part of our scope so a repair isn’t flagged later when you sell.
The Bottom Line
Paver troubleshooting is really base troubleshooting. Almost every loose brick, chalky stain, and mid-driveway crack traces back to water moving through the base layer – and in Henderson, the monsoon pattern drives that failure faster than anything on the surface ever will. Learn the three at-home tests (wobble, corner-lift, straightedge), read your crack patterns, and use the repair matrix to decide between a weekend fix and a section rebuild. Fix the water path and compaction, not just the paver, and the repair holds. Skip that step, and you’ve just reset the clock on the same failure.
If you’d rather have a set of experienced eyes on it before you spend a weekend re-seating a paver that’s about to come loose again, call Groundwork Construction Co. of Henderson at (844) 320-6757 for a free estimate. Live person on the line, upfront pricing with no surprises, and every repair backed by our 730-Day Done Right Promise – if it’s not done right, we make it right. Our technicians have up to 12 years of experience, and every job comes with a written line-item quote before we touch a paver.
Written by the team at Groundwork Construction Co. of Henderson.
Styles & brands we work with
- Kitchen remodeling
- Bathroom remodeling
- Home additions & ADU
- Roofing
- Windows & doors
- Driveway & pavers
- Fence
See the difference
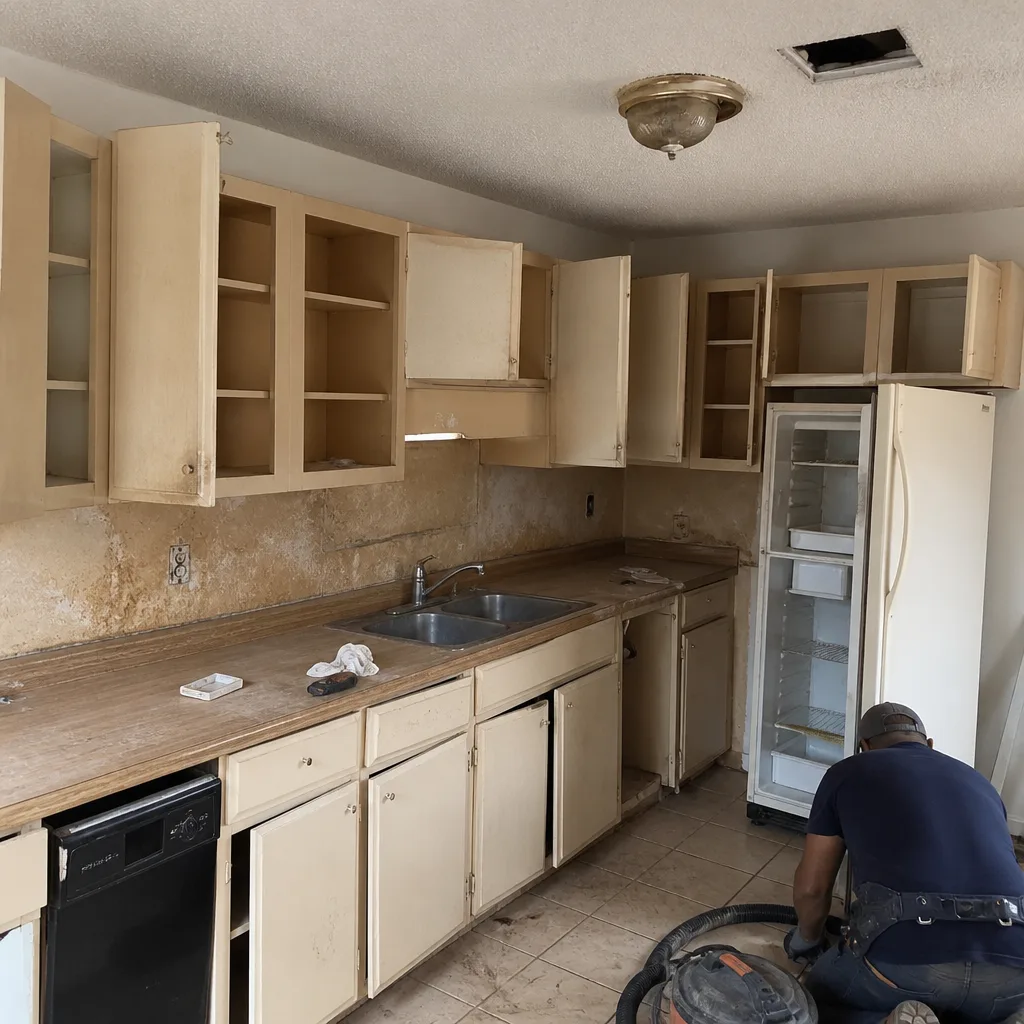 Before
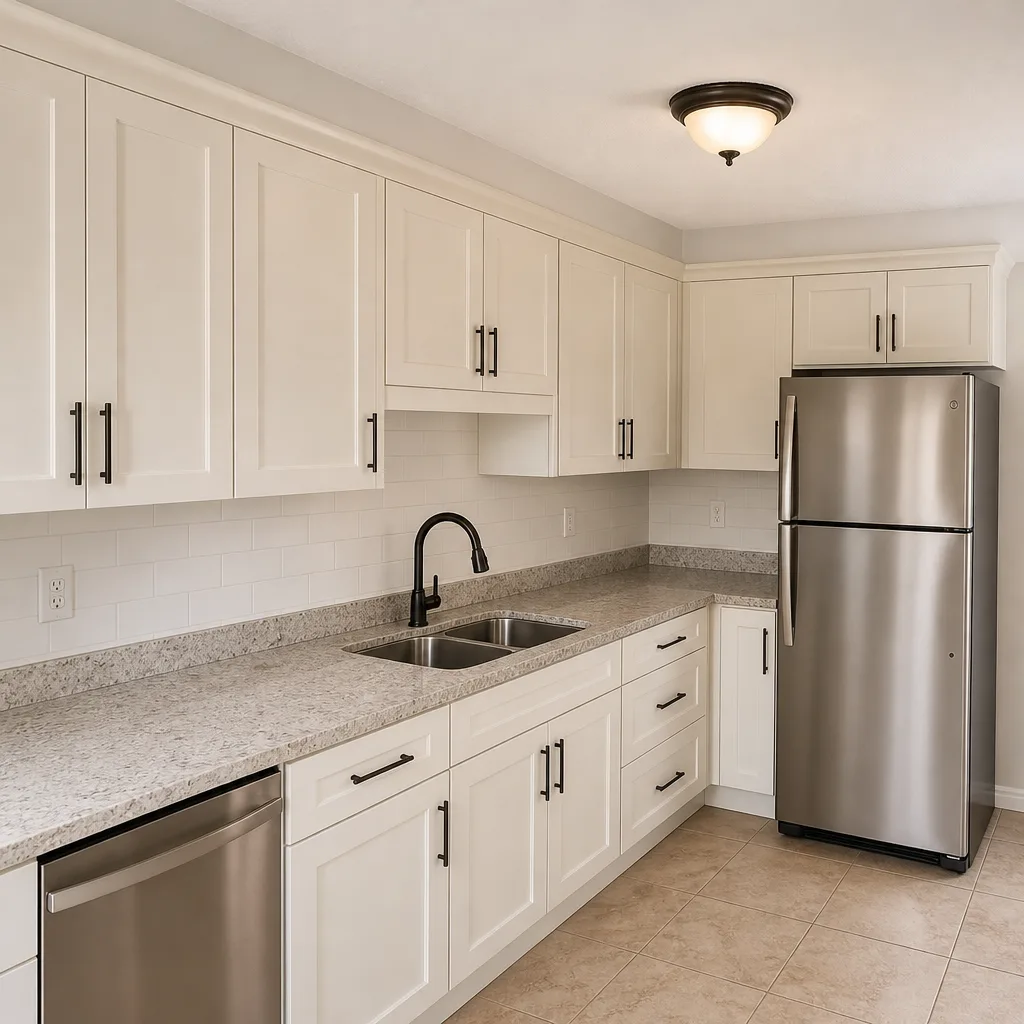 After
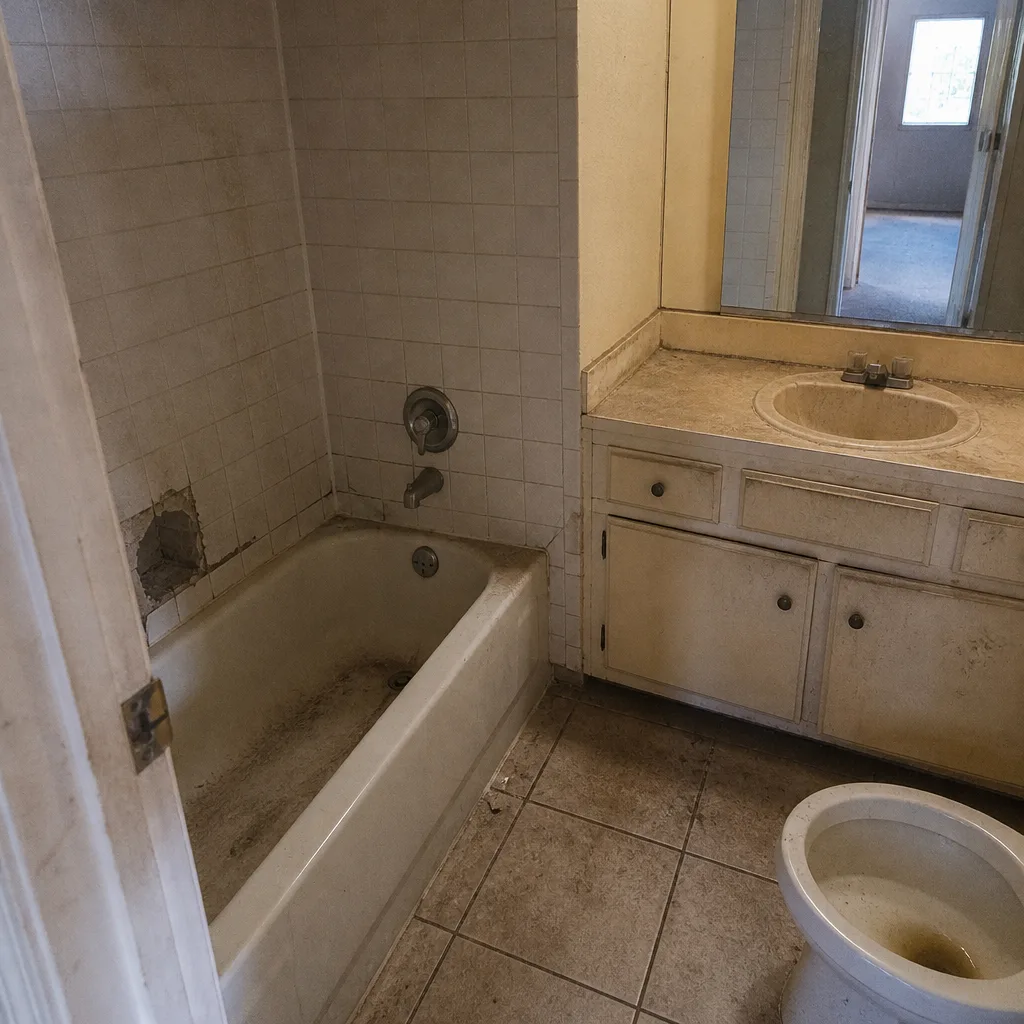 Before
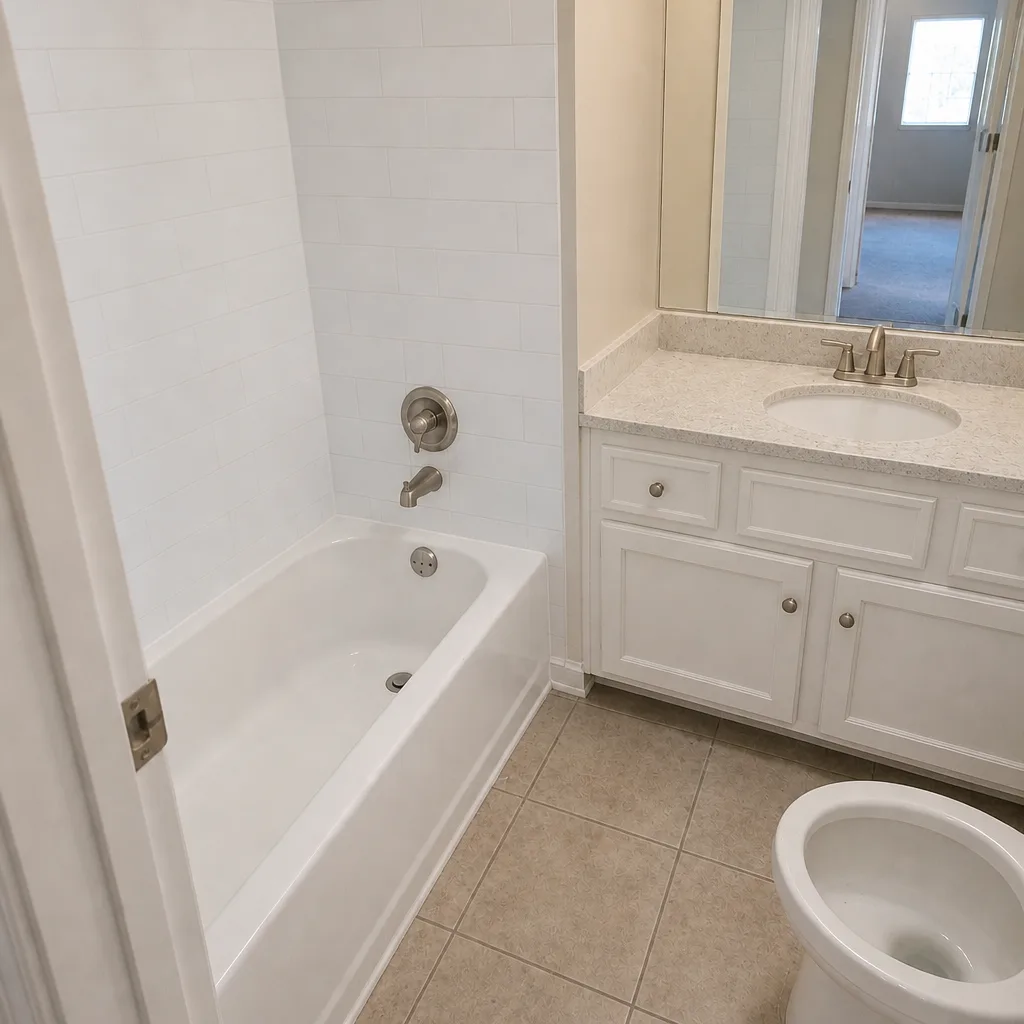 After
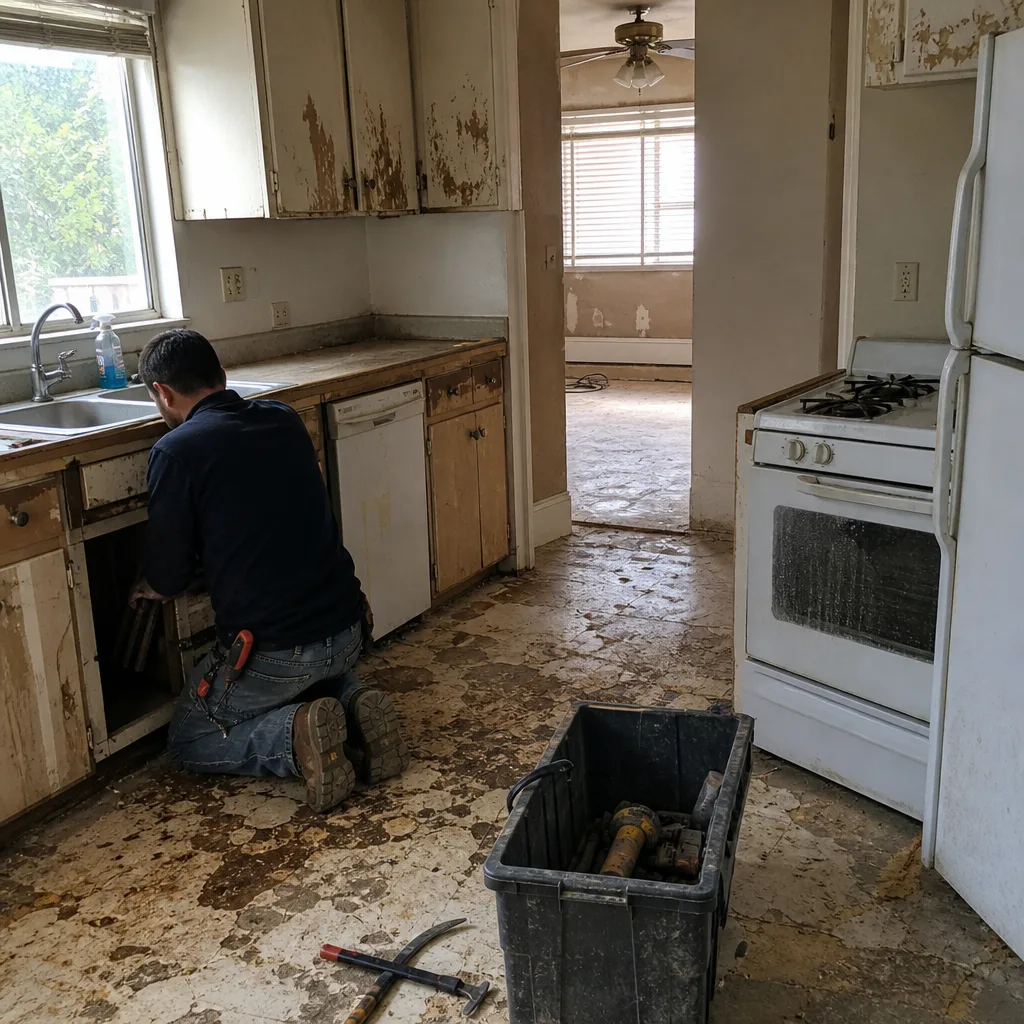 Before
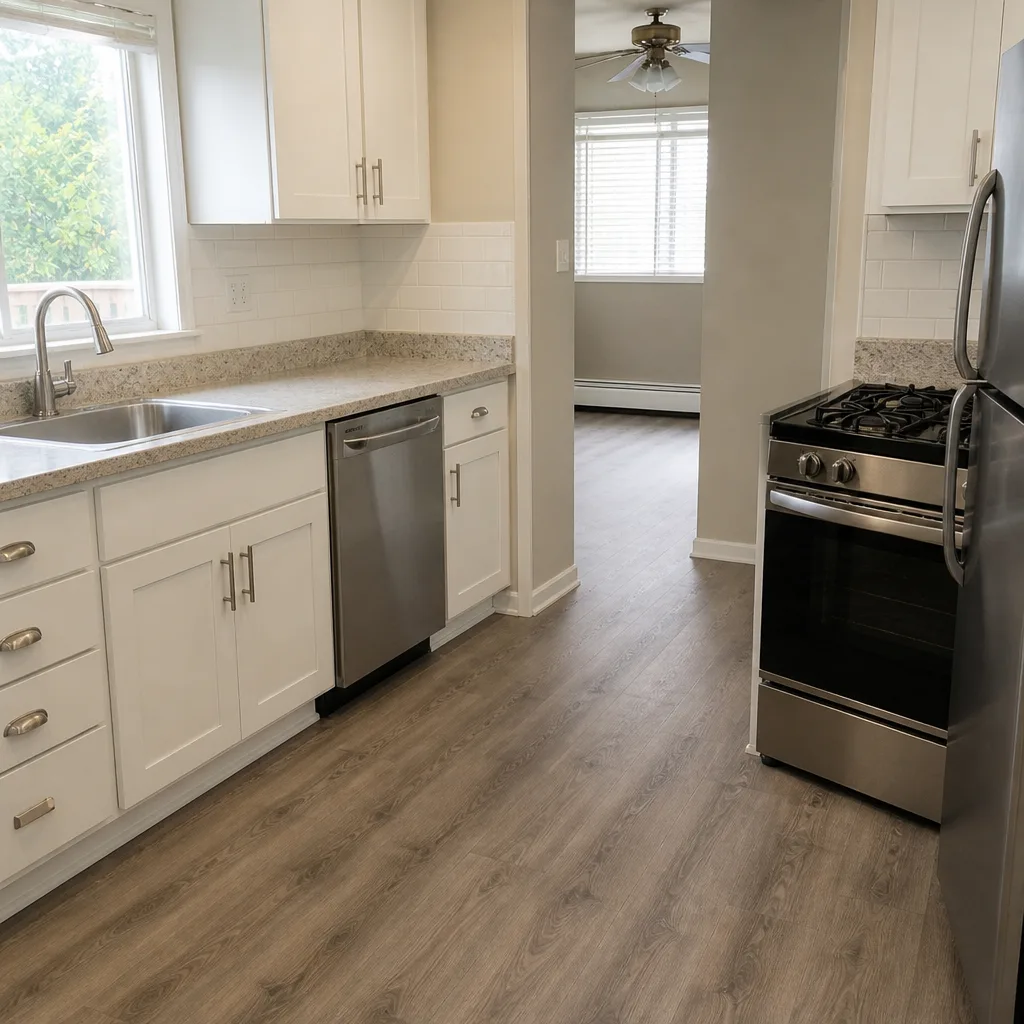 After