Last updated November 18, 2026


Free written scope consultation - allowances, timeline, and change-order rules on paper before a single trade is scheduled
Fence Installation Troubleshooting: Common Problems and How to Fix Them
A leaning fence post in Henderson isn’t usually a wind problem or a wood problem. In our experience across the valley, it’s almost always a concrete footing that was poured too shallow or too narrow to hold in expansive desert soil. The same logic runs through most fence failures we get called out to inspect: warped vinyl panels, gates that won’t latch, hardware that pulls free. Nearly every one traces back to a decision made on day one of the install. This guide walks you through the diagnostic tests we use to pinpoint which error caused your problem, so you know whether you’re looking at a repair or a full reset – and how to avoid paying twice for the same mistake.
Quick Answer
Most fence installation failures in Henderson come from three day-one errors: footings that are too shallow or too narrow for expansive desert soil, vinyl panels installed without the thermal expansion gap the material needs, and gate posts set without the bracing required to resist rotation. A proper diagnosis first separates footing failure from soil movement and from wind damage – each has a different fix, and misreading the cause is the single most expensive mistake homeowners make.
Styles & brands we work with
- Kitchen remodeling
- Bathroom remodeling
- Home additions & ADU
- Roofing
- Windows & doors
- Driveway & pavers
- Fence
Table of Contents
- How to Diagnose a Leaning Fence Post: Footing Failure vs. Soil Movement vs. Wind Damage
- How to Reset a Leaning Post Using a Deadman Anchor
- Why Vinyl Fence Panels Warp in Henderson Heat
- Gate Sag Diagnosis: Hinge Failure vs. Post Rotation vs. Frame Racking
- Reading Rust Patterns on Wrought Iron and Aluminum Fences
- Footing Depth and Soil Prep for Henderson’s Expansive Clay
- Common Mistakes to Avoid
- When to Call a Professional
How to Diagnose a Leaning Fence Post: Footing Failure vs. Soil Movement vs. Wind Damage
Before you call anyone, run the diagnostic we use on every service call. Kneel beside the post and grab it at chest height. Push slowly in one direction, then the other. What you feel tells you almost everything about what’s happening underground, and it determines whether a repair will hold or whether you’re throwing money at a symptom.
Here’s the three-part test:
- The rock test. Push the post firmly toward the fence line and away. If the base moves as a rigid unit at the soil line – with a visible crack opening between concrete and dirt – you have footing failure. The concrete “bell” was poured too small or too shallow to anchor against lateral force.
- The lift test. Grab the post and pull straight up. Any vertical travel, even half an inch, means the footing is separating from the soil. In Henderson’s expansive clay, this is the signature of soil that swells in monsoon season and shrinks in summer, pumping the concrete loose over time.
- The sway test. If the post feels solid at the base but the top sways in a stiff breeze, the footing may be intact and the problem is the post itself – rot at grade line or a split that’s allowing flex above the concrete.
Wind damage leaves a different fingerprint. It usually shows up along a run of posts, not one isolated unit, and it often comes with panel damage on the downwind side. If one post alone leans and its neighbors are plumb, you’re looking at a local footing or soil issue, not wind. That distinction matters – a wind-damaged fence run can sometimes be re-tensioned, while a single failed footing needs excavation.
Henderson sits in a wind corridor between the McCullough Range and the valley floor, so gusts do claim whole runs of fence. But the post that’s been quietly leaning for three years without a storm is a soil problem. We see this most often in neighborhoods built on former desert wash areas.
How to Reset a Leaning Post Using a Deadman Anchor
Not every leaning post needs full removal. A deadman anchor – a horizontal timber or steel cross-piece buried in the soil and connected to the post by tension hardware – can straighten and hold a post that still has a sound footing. This is the repair we reach for first when the diagnostic tests point to soil movement rather than footing failure.
Here’s how it works and how to tell if it will hold:
- Attach a tension bracket to the post at a height of roughly two-thirds of the post’s exposed length. This gives you the most leverage with the least stress on the post itself.
- Dig a trench perpendicular to the fence run at least four feet deep and four to five feet long, extending away from the post on the side you’re pulling against.
- Bury the deadman beam – typically a 4×4 treated post or a section of steel angle – horizontally at the bottom of the trench, backfilled and tamped.
- Connect the post to the beam with a turnbuckle or threaded rod, then tension it slowly over a few days. Overtightening snaps hardware; slow pressure lets the post straighten in the ground.
When done correctly, a deadman anchor can stabilize a post for years. But be honest about the limits: if the concrete footing is visibly cracked through, or if the post is moving at the ground line rather than just above it, a deadman is delaying the inevitable. The footing was too shallow to begin with, and the anchor is doing a job the concrete should be doing. For a post in that condition, excavation and re-pour is the only lasting fix.
We’ve also seen crews use a deadman on a post that’s actually rotting at grade – a common outcome in Henderson’s summer monsoons, where standing water at the base accelerates decay. Tensioning a rotten post just snaps it. Check the wood condition first with a screwdriver probe. If it sinks in easily below the soil line, no anchor will save it.
Why Vinyl Fence Panels Warp in Henderson Heat
Vinyl panel warp is the single most common complaint we get about fences installed in the Henderson valley, and nearly every case traces to the same install mistake: not leaving enough room for thermal expansion. Vinyl expands and contracts with temperature, and summers here regularly push the material through a 100-degree swing from a winter morning to an August afternoon. Installers who skip or ignore the gap spec are guaranteeing a warped panel within two years.
The gap spec most installers skip: panels should never be tight against the post channel or anchored rigidly at both ends. There needs to be at least 1/4 inch of movement clearance at each end of every panel, and the fasteners that secure the panel to the rail should be slotted or offset so the vinyl can move laterally. When a panel is pinned tight at both ends, the material has nowhere to go but outward, and outward is a wave.
Here’s what to check on your existing fence:
- Look for a soft wave across the panel face, visible when you sight down the run. A gentle curve is cosmetic; a hard kink is structural.
- Check the bottom rail and top rail. If the panel is buckled between them, expansion has nowhere to go. If the panel is buckled off them, the fasteners have failed.
- Probe the gaps at the posts. Slide a quarter into the channel at each end. If it won’t fit, there’s no expansion allowance and the next heat wave will make it worse.
Modern vinyl from brands like Boral and other manufacturers we work with is engineered for desert heat, but the material spec only matters if the install respects the thermal movement. If you’re replacing the panels, the fix is straightforward: reinstall with the correct clearance and slotted fastening. If the rails are damaged from years of forced movement, panel replacement won’t stick until the rails come out too. That’s a job we’d scope carefully before quoting – the wrong diagnosis here just buys you a repeat.
We install fence across Henderson and have rebuilt enough warped vinyl runs to know the gap spec is where the whole thing lives or dies.
Gate Sag Diagnosis: Hinge Failure vs. Post Rotation vs. Frame Racking
A sagging gate has three possible causes, and fixing the wrong one wastes money. The most common mistake we see is a homeowner replacing hinges on a gate whose real problem is a rotating post. The hinge was fine; the post was turning in the ground, and the new hinge just gets ripped loose within a season.
Run this three-step diagnosis before you touch the hardware:
- Check the post for plumb. Hold a 4-foot level against the gate post, top and side. If the post is leaning even a degree away from vertical, the gate sags because the whole hinge line has moved. Replacing hinges here is money down the drain.
- Check the gate frame for square. Measure diagonally from corner to corner of the gate itself. If the two diagonal measurements don’t match within a half-inch, the frame has racked – the gate is sagging because its own structure has twisted, not because the hinges or post failed.
- Check the hinges last. Only if the post is plumb and the frame is square do you inspect the hinges. Look for worn pins, egg-shaped screw holes, or hinges that move independently of the post and gate.
Post rotation is the cause we see most often on gates in Henderson, especially on gates set in expansive soil. The gate post gets pushed by the daily cycle of loading and unloading tension, and over a year or two, it rotates slightly. A deadman anchor or a properly poured footing with cross-bracing stops the rotation. Frame racking is a weld or fastener issue and can often be corrected in place with a diagonal brace. Hinge failure is genuinely the least common – and the only case where swapping hardware fixes the problem.
If a gate won’t latch and you’re shimming the latch to compensate, stop. That’s a symptom follow, not a fix, and it’ll only get worse. Diagnose the post and frame first.
Reading Rust Patterns on Wrought Iron and Aluminum Fences
Metal fences fail in predictable places, and the rust pattern tells you whether you’re looking at a coating problem or a structural one. The difference matters – coating failure is a maintenance job, while structural damage means the fence section needs repair or replacement.
Here’s how to read it:
- Surface rust on the face of pickets: this is coating failure, likely from UV breakdown or scratches that weren’t touched up. It’s cosmetic and cleanable with a wire brush and touch-up paint. No structural concern.
- Rust lines at the weld joints: these are the most concerning pattern. Rust along a weld seam means moisture is getting into a joint that should be sealed. Left alone, weld joint rust can structurally weaken the connection. Wrought iron and aluminum welds both fail this way in Henderson’s heat cycles.
- Rust crawling up from the base: moisture wicking up from soil contact. This is common on fences installed without a proper gravel base or with concrete bleeding into the post interior. The fix is disrupting the moisture path – the panel may be sound but the base needs attention.
- White chalky powder on aluminum: that’s aluminum oxide, the material’s natural oxidation. It’s normal and protective, not structural damage. Don’t confuse it with rust. If an aluminum fence has actual red rust on it, something steel is in the assembly that shouldn’t be.
The fences we install in Henderson are specified with galvanized or powder-coated hardware specifically because of the oxidation pattern in our climate. A decorative fence from a brand like PGT, matched to proper coating standards, will hold an even finish for a much longer cycle than a generic import. If you’re seeing weld joint rust on a fence under five years old, the coating spec was wrong for the exposure – and that’s the conversation to have before you pay for a spot repair that won’t hold.
Footing Depth and Soil Prep for Henderson’s Expansive Clay
Henderson sits on some of the most expansive clay soil in Southern Nevada. When the clay takes on water during a monsoon, it can swell enough to lift a house slab by a fraction of an inch, and it does the same to fence footings. The soil movement is non-negotiable; the only thing you can control is whether the footing is built to resist it.
The spec we install to, which lines up with local code expectations for wind-loaded fence construction:
- Footing depth of at least 24 to 30 inches below grade. Shallow footings in Henderson clay will heave within a season.
- A flared footing, wider at the base than at the post – roughly a 12-inch bell for a standard 4×4 post. The bell provides the ballast that resists both soil movement and wind uplift.
- Gravel or crushed rock at the bottom of the footing to interrupt the moisture wicking path and prevent frost heave from the small but real winter nighttime drops below freezing in Henderson.
- Proper backfill compaction in lifts – pour the concrete, then tamp the soil back in stages rather than dumping it all at once. Loose backfill is a top cause of footing separation without any soil movement at all.
We’ve dug up footings in Henderson installed by others at 10 or 12 inches and seen the concrete floating free in the clay. The install looked fine when it was new. It failed because the footing was sized for a climate that isn’t this one. When we bid a fence replacement or a footing repair, we spec the depth against the actual soil condition at the site, not a generic number – because what holds in a neighborhood on rock is different from what holds in a neighborhood on the washes.
Got a fencing project that needs to be built right the first time? Our Henderson home construction team handles the full property from fence line to finish. If you’re also considering hardscape drainage that ties into the fence footing plan, see driveway and pavers in Henderson – the grading conversation is the same one.
Common Mistakes to Avoid
- Replacing hinges without testing the post for plumb. On a sagging gate, hinge replacement on a rotating post is the fastest way to spend money that goes nowhere. Test the post first – it’s free, and it’s the difference between a fix and a repeat.
- Installing vinyl panels tight at both ends. In Henderson’s heat cycling, tight panels buckle within two summers. The quarter-inch clearance at each end and slotted fastening is not optional – it’s the spec that makes vinyl work here.
- Pouring a shallow footing and calling it good because the ground feels firm. Henderson’s expansive clay feels firm in dry season and moves in monsoon season. A 12-inch footing in this soil will fail on a schedule.
- Using a deadman anchor to save a post with a cracked footing. The anchor masks the symptom for a season or two. If the concrete is cracked through, the post has to come out. Delaying the excavation just costs more once the fence run is damaged further.
- Confusing aluminum oxide chalk with rust damage. White powder on aluminum is the material’s protective layer, not deterioration. Painting over it wrong or replacing the fence to “fix” it is an expensive response to a non-problem.
- Skipping the base gravel under footings. Rocks at the bottom of the footing interrupt moisture wicking. Without it, the post base is the first thing to fail, and the whole panel above it usually follows.
- Hiring on lowest bid without footing depth in writing. Shallow footings are the most common way fence bids get low. Get the footing spec in the quote – the number you see should be the number you pay, and footing depth is the number most worth checking.
See the difference
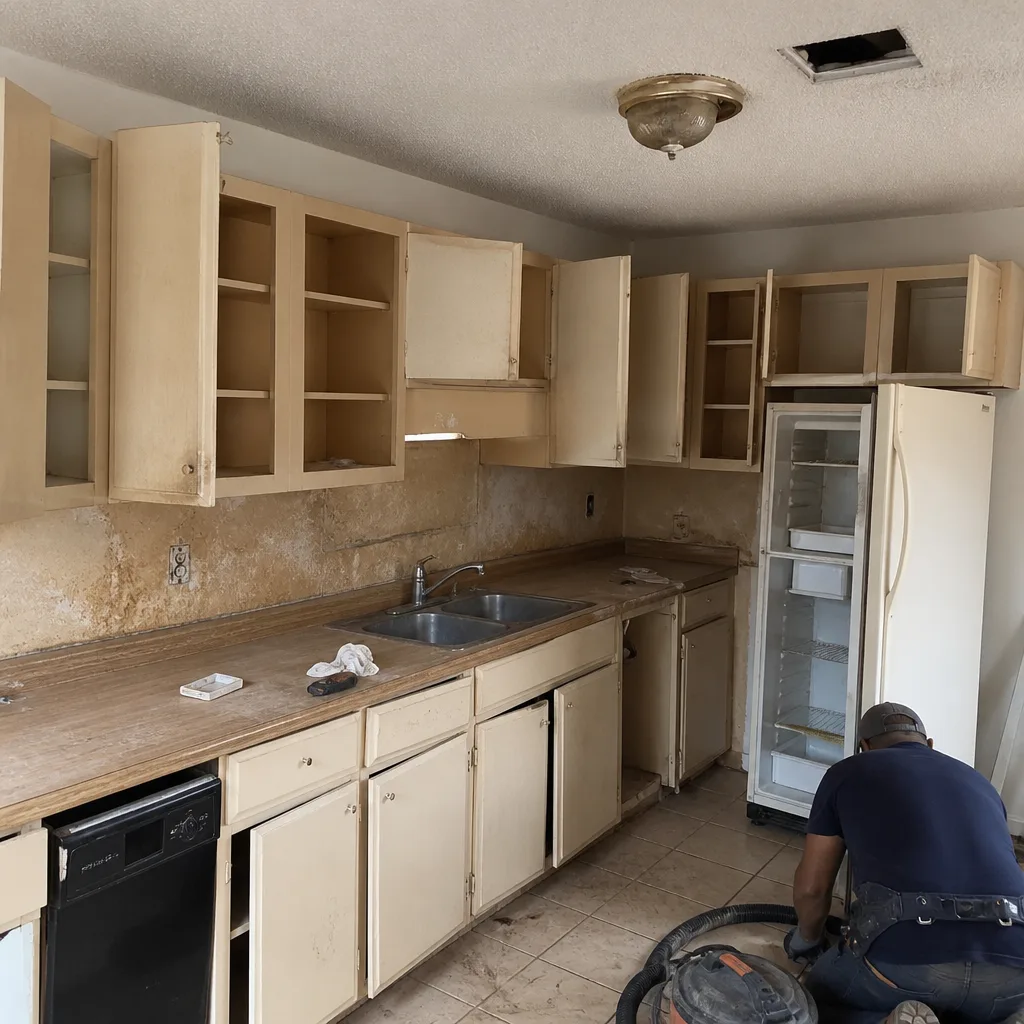 Before
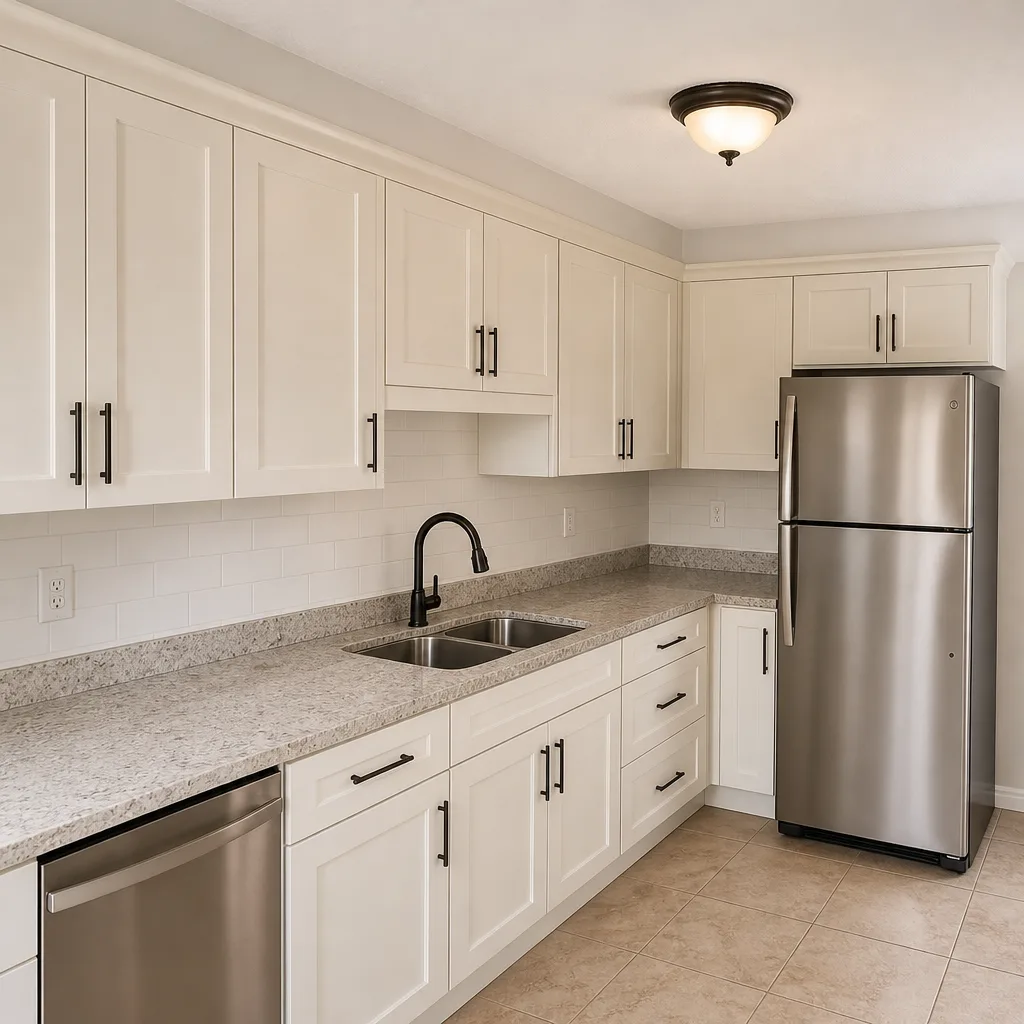 After
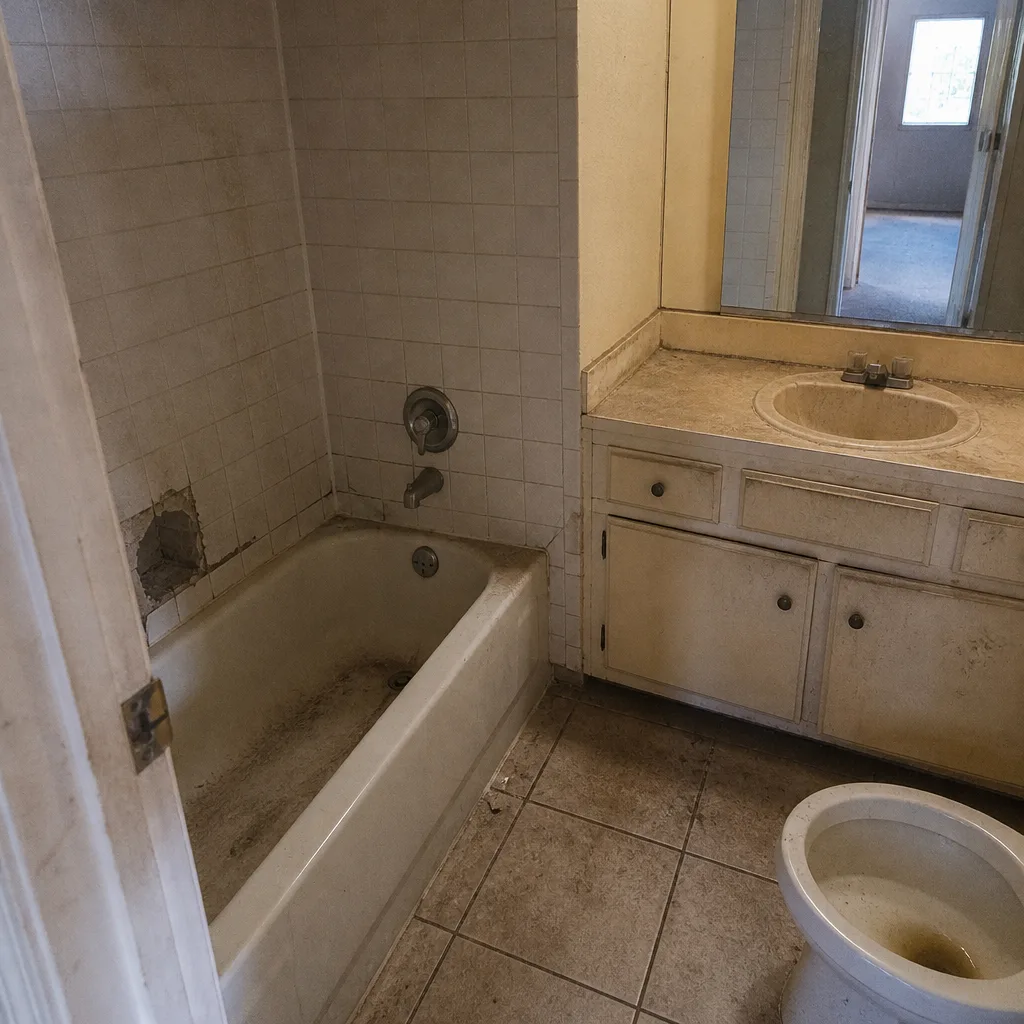 Before
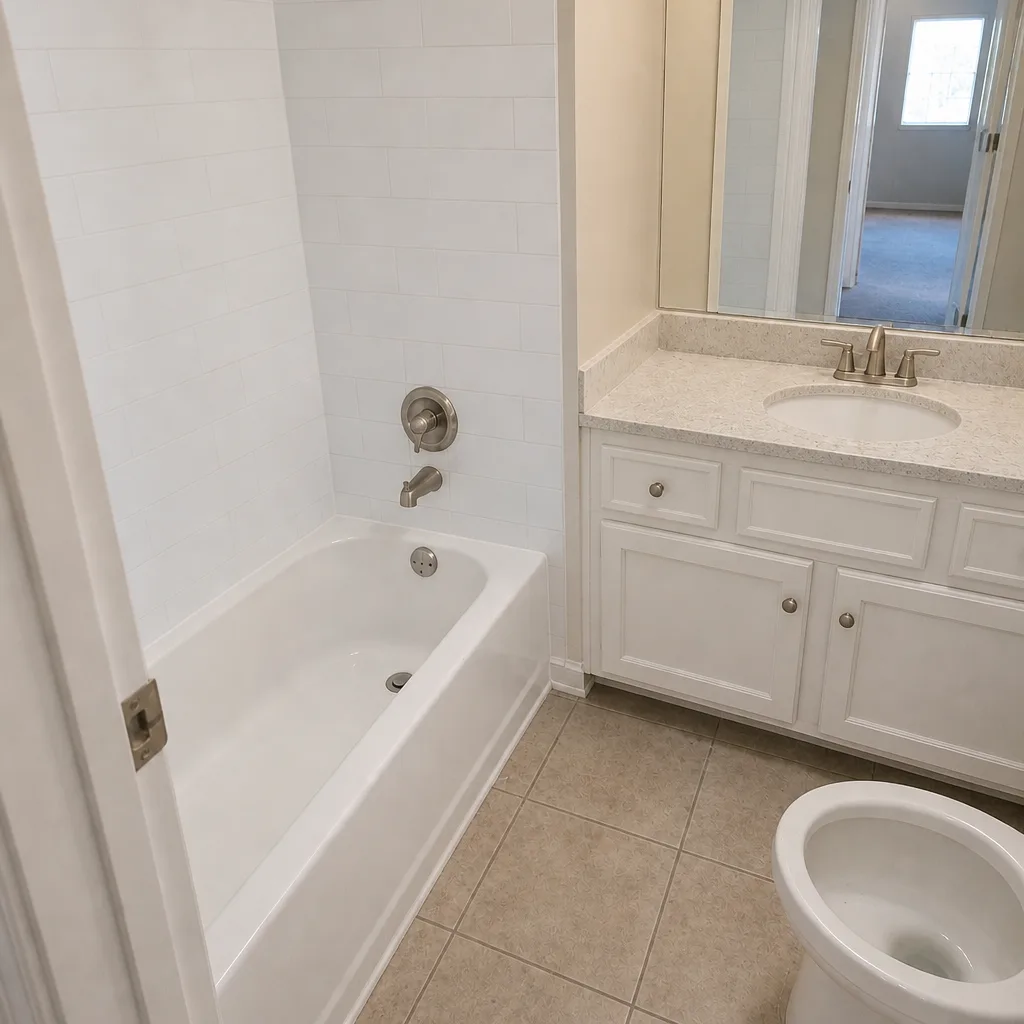 After
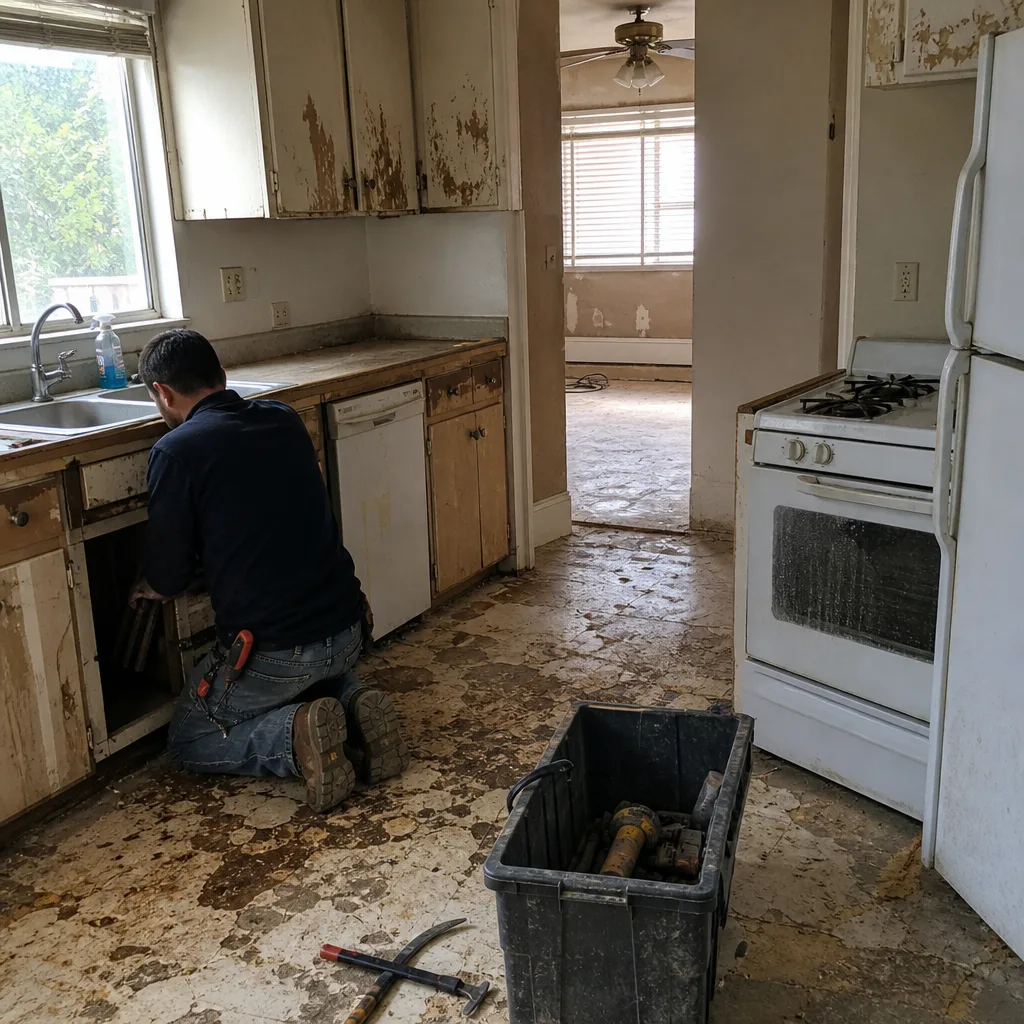 Before
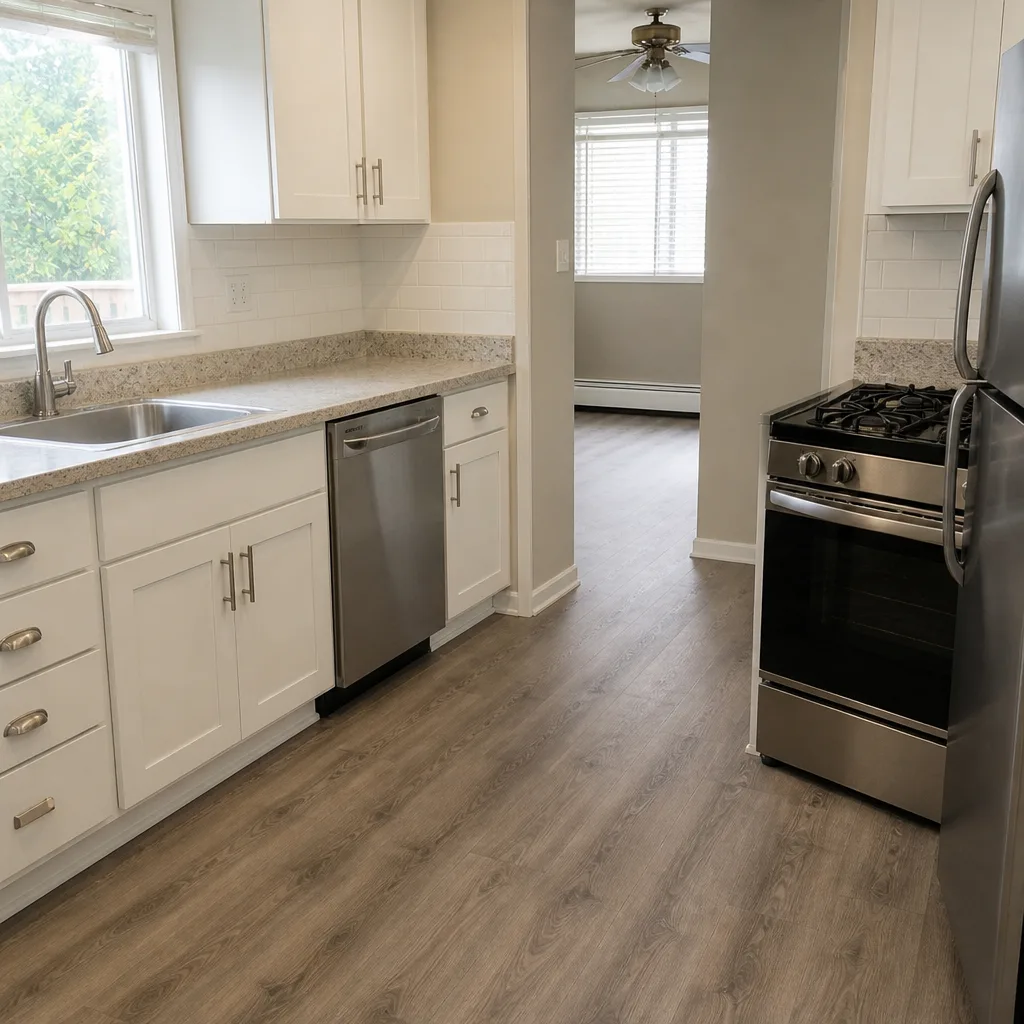 After
When to Call a Professional
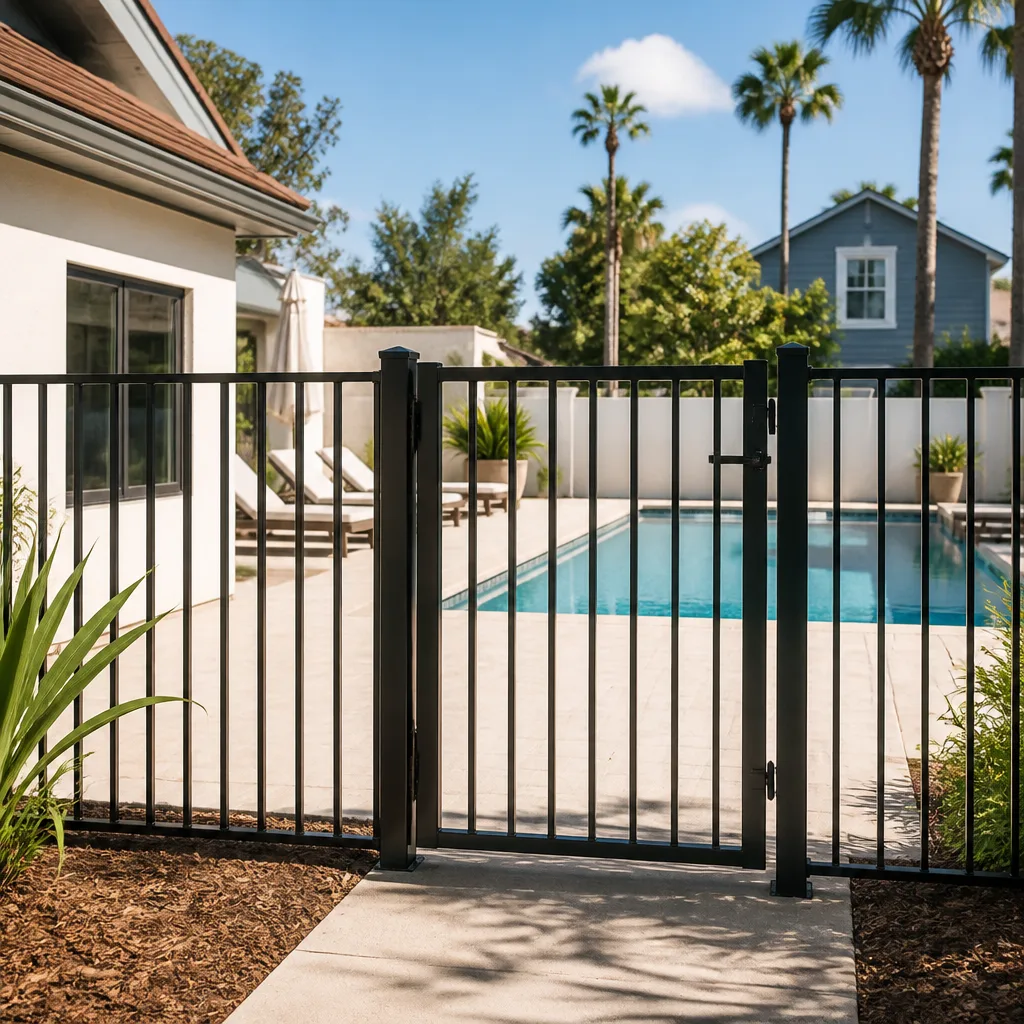
Some fence problems are genuinely DIY-able – touch-up on surface rust, a latch that needs adjusting, a panel that needs the fasteners slotted. But call a professional when the post is moving at the base, when the concrete footing has cracked through, or when a gate has dropped more than an inch and won’t hold a shim. Excavating and re-pouring a footing in Henderson clay requires depth control and compaction that a homeowner can’t verify. And on any repair near a utility line – gas, electrical, water – call before you dig, full stop. We also recommend calling a pro when you’re not sure what caused the failure. Misdiagnosis is the expensive part; a fifteen-minute inspection avoids the mistake.
Groundwork Construction Co. of Henderson offers free estimates in Henderson – call (844) 320-6757. Calls are answered by a live person, 24/7, so you’re not leaving a voicemail on a Saturday. Every job we do is covered by the 730-Day Done Right Promise – if it’s not done right, we make it right.
Frequently Asked Questions
Post straightening with a deadman anchor runs in the mid-hundreds for a single post, while excavating and re-pouring a proper footing typically lands higher, and the exact figure depends on soil conditions, post type, and access. In Henderson, we quote the footing depth up front because that’s where the real cost difference sits between a repair that holds and one that comes back. Call (844) 320-6757 for an exact quote – estimates are free and we’ll bring a written scope.
Yes, in many cases. A post with a sound footing that’s leaning from soil movement can often be straightened with a deadman anchor and hold for years. A post with a cracked footing, or one that’s moving at the ground line rather than above it, needs excavation and a new footing – the post itself can often be reused if it’s not rot-damaged.
Vinyl panels warp in Henderson because the material expands and contracts with the roughly 100-degree seasonal swing between a winter morning and an August afternoon, and most installers don’t leave the quarter-inch clearance at each end and slotted fastening the panel needs to move. Pinned tight at both ends, the vinyl has nowhere to go but outward, and a wave forms. The fix is reinstallation with the correct clearance, not just replacing the panels.
It depends on the diagnosis. If the post is plumb and the frame is square, hinge replacement is the right repair. If the post has rotated or the frame has racked, a repair needs to address that cause, or the new hardware fails within a year. We diagnose the post and frame before quoting so the fix holds.
Yes, we pull the permits and pass the inspections on fence work that requires them. Permitting requirements in Henderson depend on fence height, lot location, and material, and the specifications we install to – footing depth, flared bell, backfill compaction – are built to match. Every project is covered by the 730-Day Done Right Promise. Call (844) 320-6757 to schedule a free estimate.
No. We use upfront pricing, no surprises – the number on your written quote is the number you pay, and change orders only happen if you request a scope change. That’s why we spec footing depth and confirm soil conditions during the estimate, before the number is finalized. We also offer $1,000 off projects over $10,000 and 0% financing for 18 months if you’re planning a larger project. Call (844) 320-6757 to start with a free estimate and design consult.
The Bottom Line
Almost every fence problem we see in Henderson comes back to one of three day-one install errors: shallow or narrow footings in expansive clay, vinyl installed without thermal expansion clearance, or gate posts set without the bracing to resist rotation. Diagnose the cause before you spend a dollar on the fix – the rock test, the lift test, and the pin gap check will tell you whether you’re looking at a repair or a reset. And when the diagnosis calls for excavation or a structural repair, get a written scope with footing depth spelled out. Call Groundwork Construction Co. of Henderson at (844) 320-6757 for a free estimate. Whether you’re repairing a single post or rebuilding a full fence line, the team can also help with home additions and ADU projects in Henderson if the fence is part of a bigger property plan.
Written by the team at Groundwork Construction Co. of Henderson.